
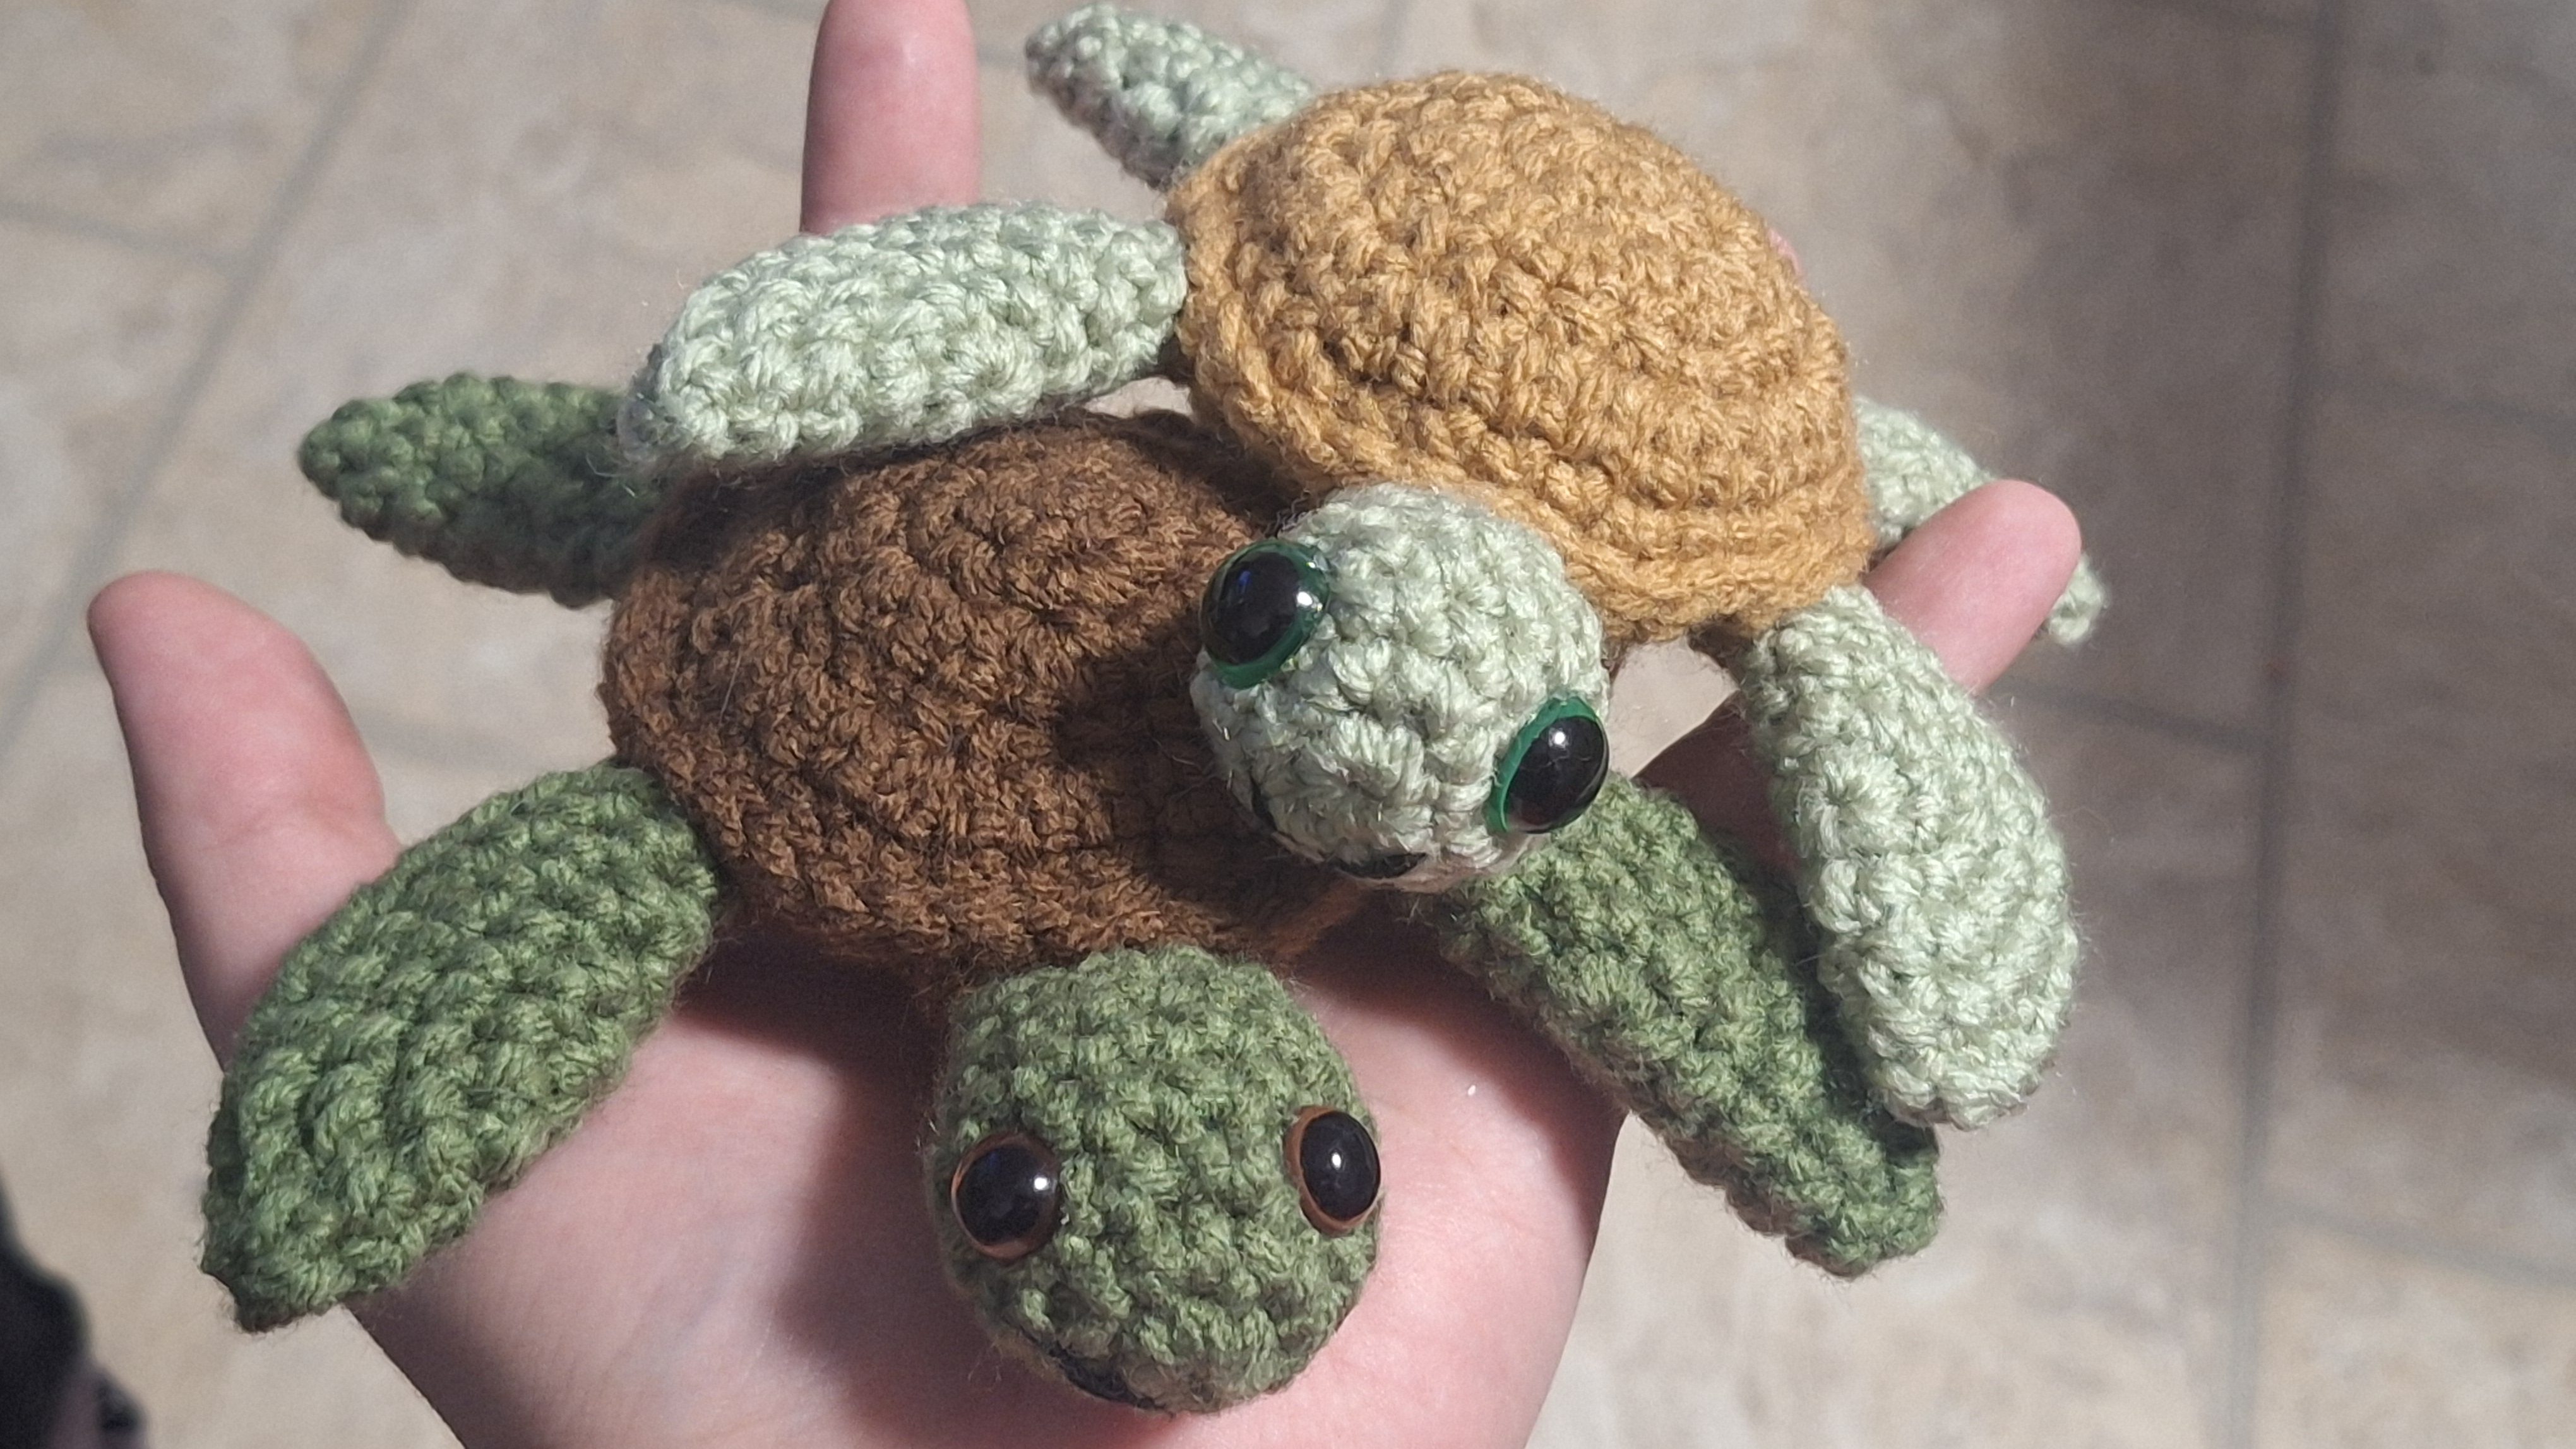
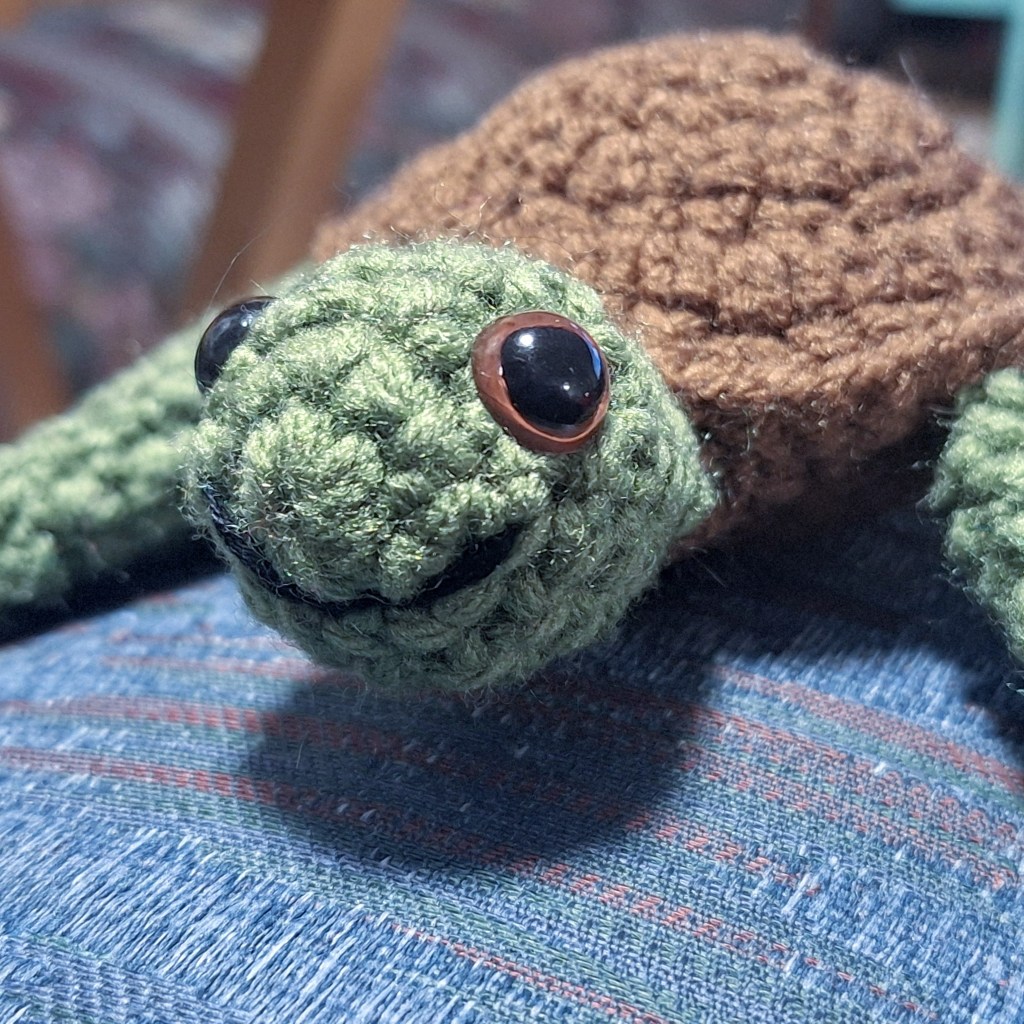
Turtles are such beautiful creatures, gliding gracefully through the ocean. I got to see some in person at Ripley’s Aquarium of Canada this past summer, which was a magical experience I’ll never forget.
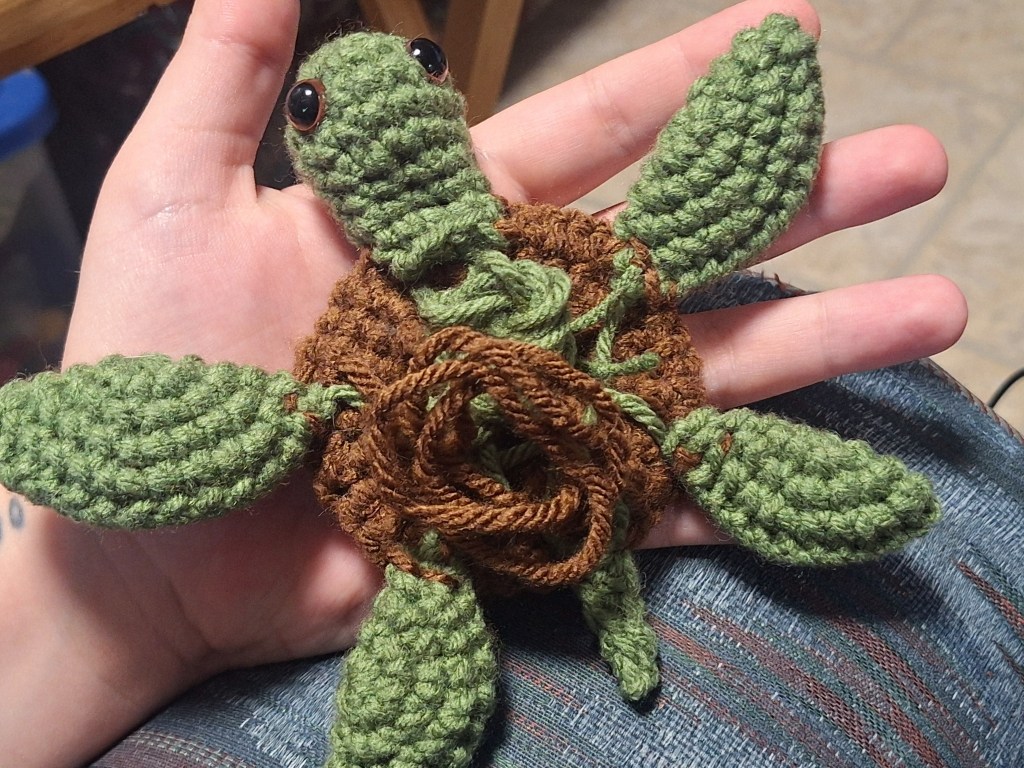
This crocheted version is far softer and cuddlier than its real counterparts, and will make a delightful little friend.
There are no fancy stitches or techniques used here, so the pattern is quite approachable! The hardest part is stitching the top and bottom of the shell together, but that’s just slip stitches, so really it’s pretty simple once you get a handle on what you’re doing.
Sea Turtle Pattern
Materials
- Size 4 medium acrylic yarn in two colours (colour A for shell, colour B for head and limbs)
- 3.5mm hook
- Stuffing
- 10mm or 12mm safety eyes, 1 pair
- Scrap of black yarn or embroidery thread, for face details (optional)
Abbreviations
MR: magic ring
Esc: extended single crochet
St(s): stitch(es)
Inc: increase
Sc: single crochet
WS: wrong side
Dec: invisible decrease
Sl St(s): slip stitch(es)
Ch: chain
Steps
Bottom Shell
Use Colour A.
- MR 6 sc. (6 sts)
- Inc 6 sc. (12 sts)
- (Inc, sc) x6. (18 sts)
- (Inc, sc 2) x6. (24 sts)
- (Inc, sc 3) x6. (30 sts)
- (Inc, sc 4) x6. (36 sts)
Fasten off. End with an invisible join, leaving tails on WS. I like to tie them together to keep them out of the way for the sewing later.

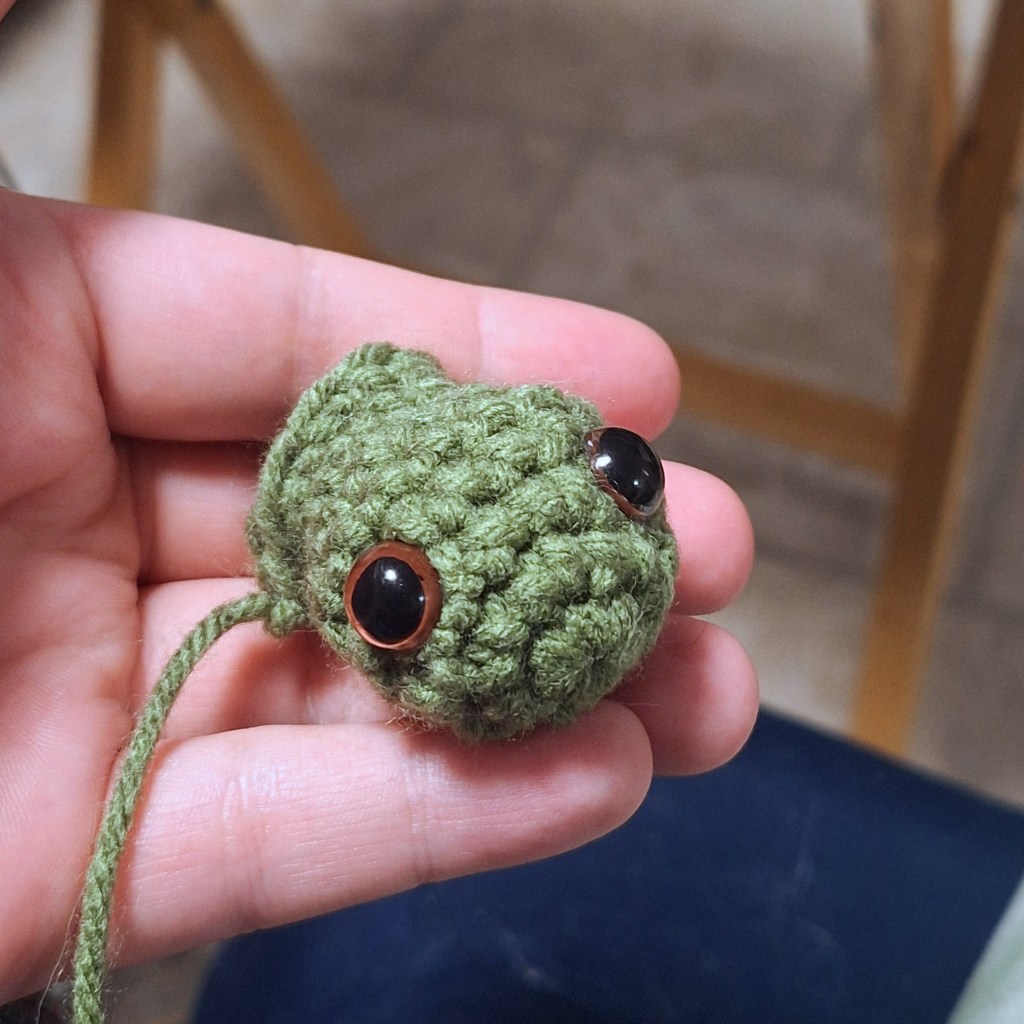
Head
Using Colour B.
- MR 6 sc. (6 sts)
- Inc 6 sc. (12 sts)
- (Inc, sc 3) x3. (15 sts)
- Sc 15.
- Sc 15.
- (Dec, sc 3) x3. (12 sts)
- (Dec, sc 4) x2. (10 sts)
- Sc 10.
- Sc 10.
Fasten off. Attach safety eyes between rounds 3 and 4, about 5 sts apart. Sew on face details, if you’d like. Stuff just head, leaving neck section empty.
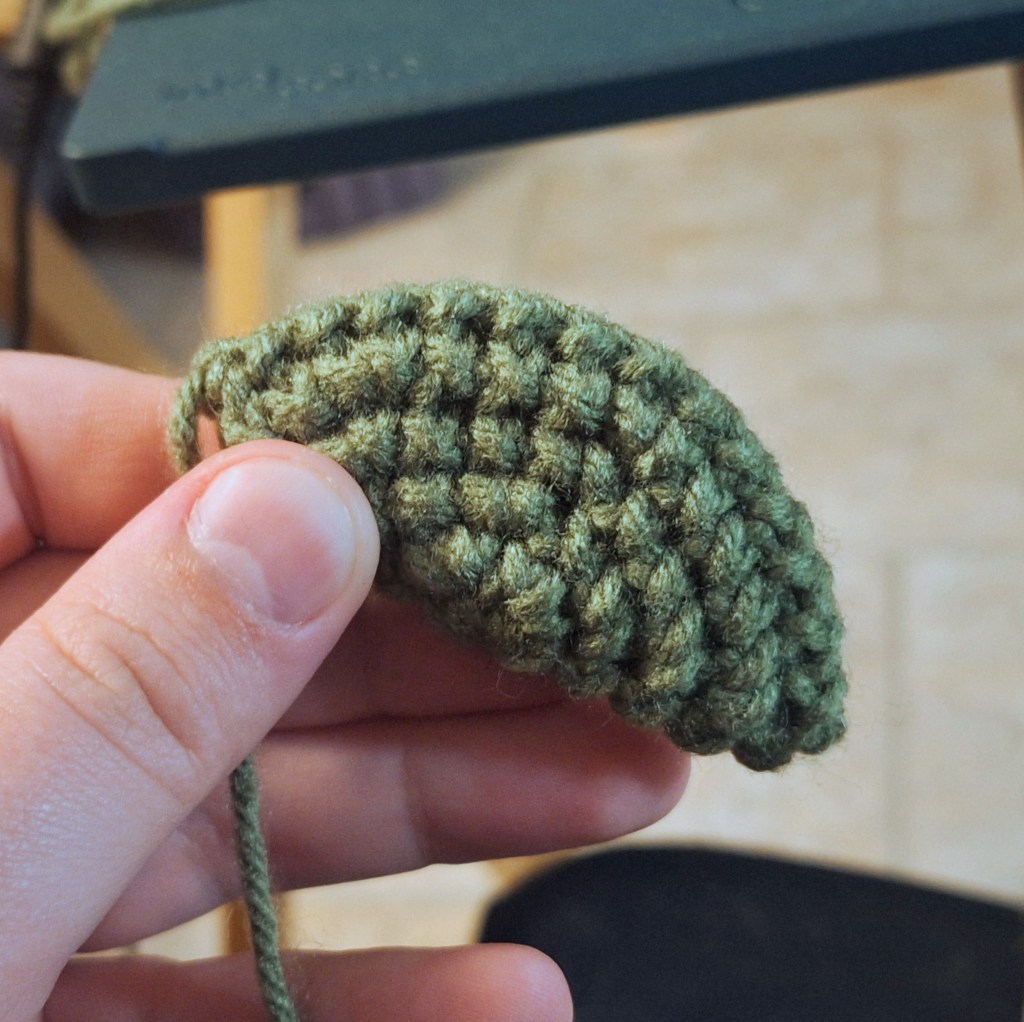
Front Fin (2x)
Using Colour B.
- MR 6 sc. (6 sts)
- Inc 6 sc. (12 sts)
- (Inc, sc) x6. (18 sts)
- (Inc, sc 2) x6. (24 sts)
- (Inc, sc 3) x6. (30 sts)
Fasten off, leaving a tail long enough to sew. Fold in half and sew shut through top loop of the back and bottom loop of the front for each stitch, as shown in the photo below.

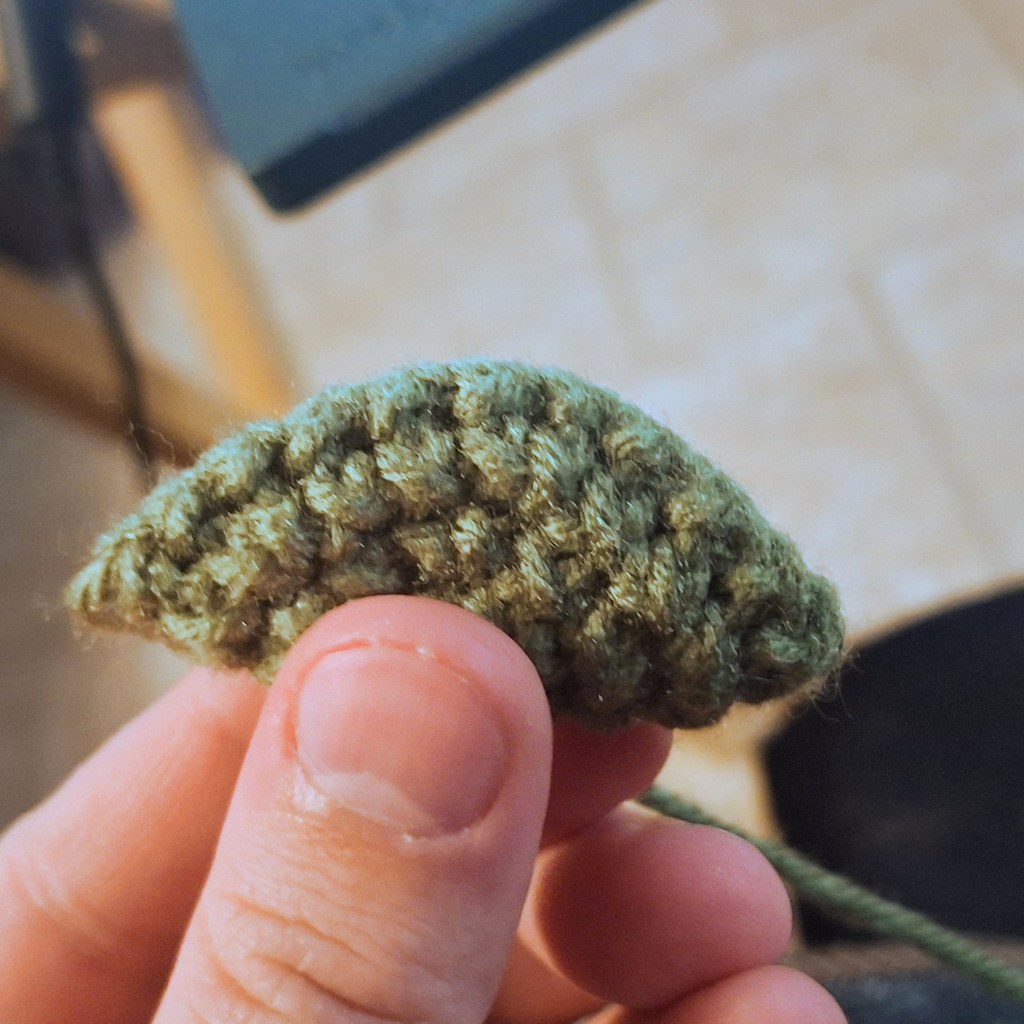
Back Fin (2x)
Using Colour B.
- MR 6 sc. (6 sts)
- Inc 6 sc. (12 sts)
- (Inc, sc) x6. (18 sts)
- (Inc, sc 2) x6. (24 sts)
Fasten off, leaving a tail long enough to sew. Fold in half and sew shut like the Front Fins.
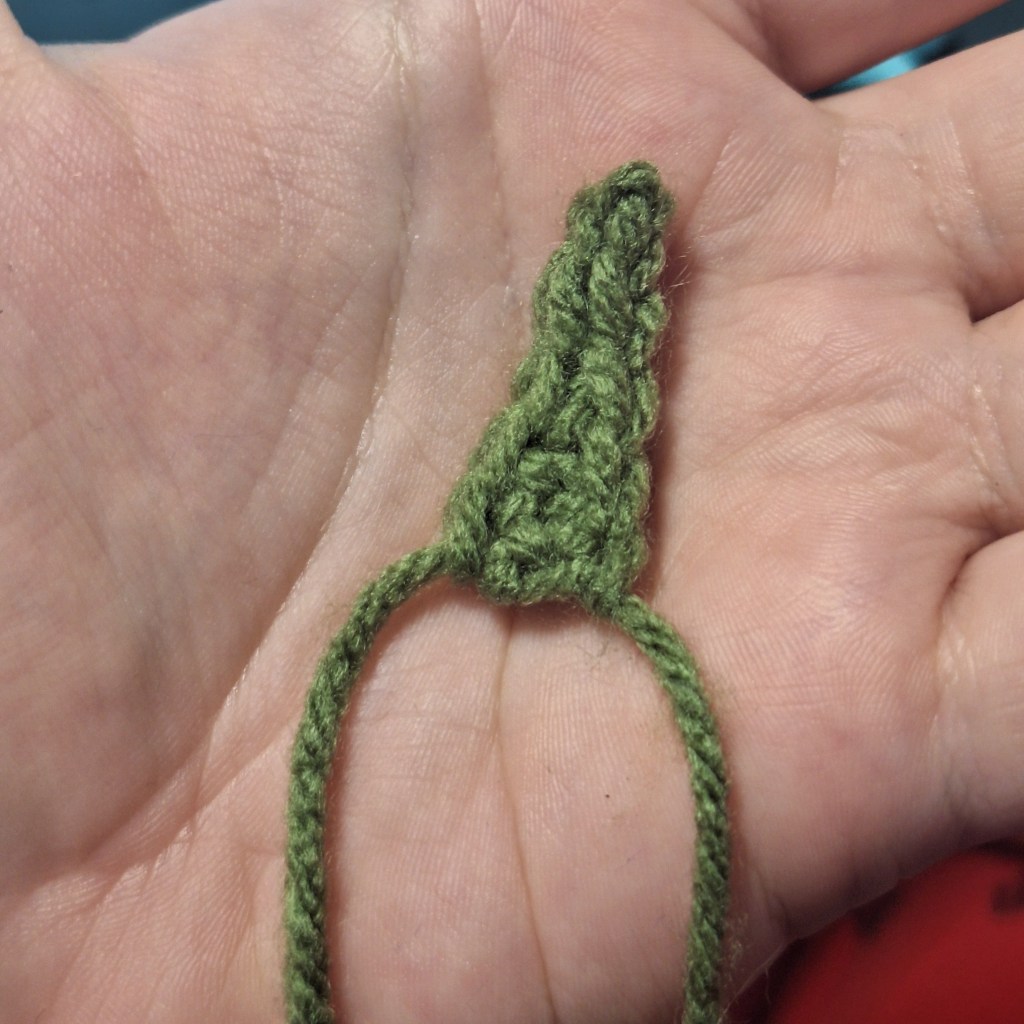
Tail
Using Colour B.
- Ch 6.
- Sl st in 2nd ch, sl st, sc 1, esc 2. (5 sts)
Fasten off.
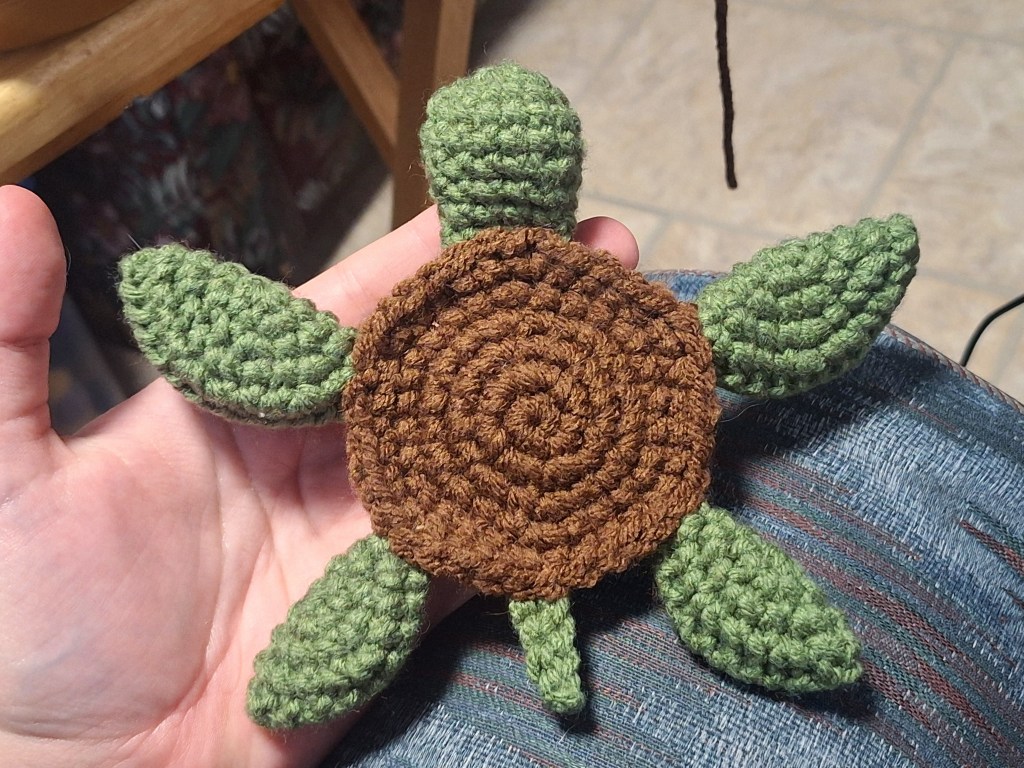
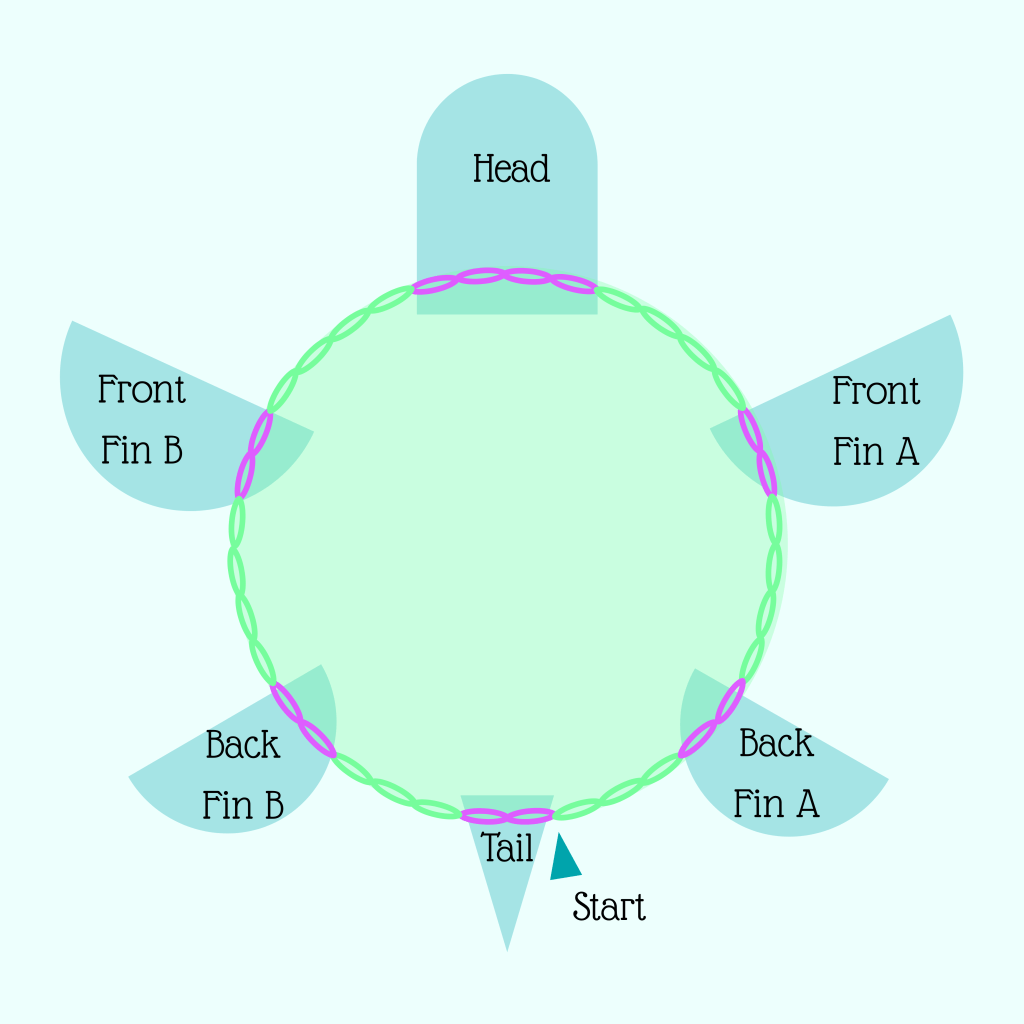
Assembly
Use Colour A to sew on all pieces, to keep stitches invisible.
Sew Head onto WS of Bottom Shell, over a section of 4 sts. It doesn’t matter where, as the placement of the Head dictates the placement of everything else.
Sew Front Fins onto WS of Bottom Shell, with folded side facing the head, 4 sts away from the 4-st section where the Head is, over a section of 2 sts.
Sew Back Fins onto WS of Bottom Shell, with folded side facing the head, 4 sts away from the 2-st section of the Front Fins, over a section of 2 sts.
Sew Tail onto WS of Bottom Shell, with pointed end out, 3 sts away from the 2-st section of the Back Fins, over a section of 2 sts. Should be centred between Back Fins.
See diagram below for details.
Top Shell
Use Colour A.
- MR 6 sc. (6 sts)
- Inc 6 sc. (12 sts)
- (Inc, esc) x6. (18 sts)
- (Inc, sc 2) x6. (24 sts)
- (Inc, esc 3) x6. (30 sts)
- (Inc, sc 4) x6. (36 sts)
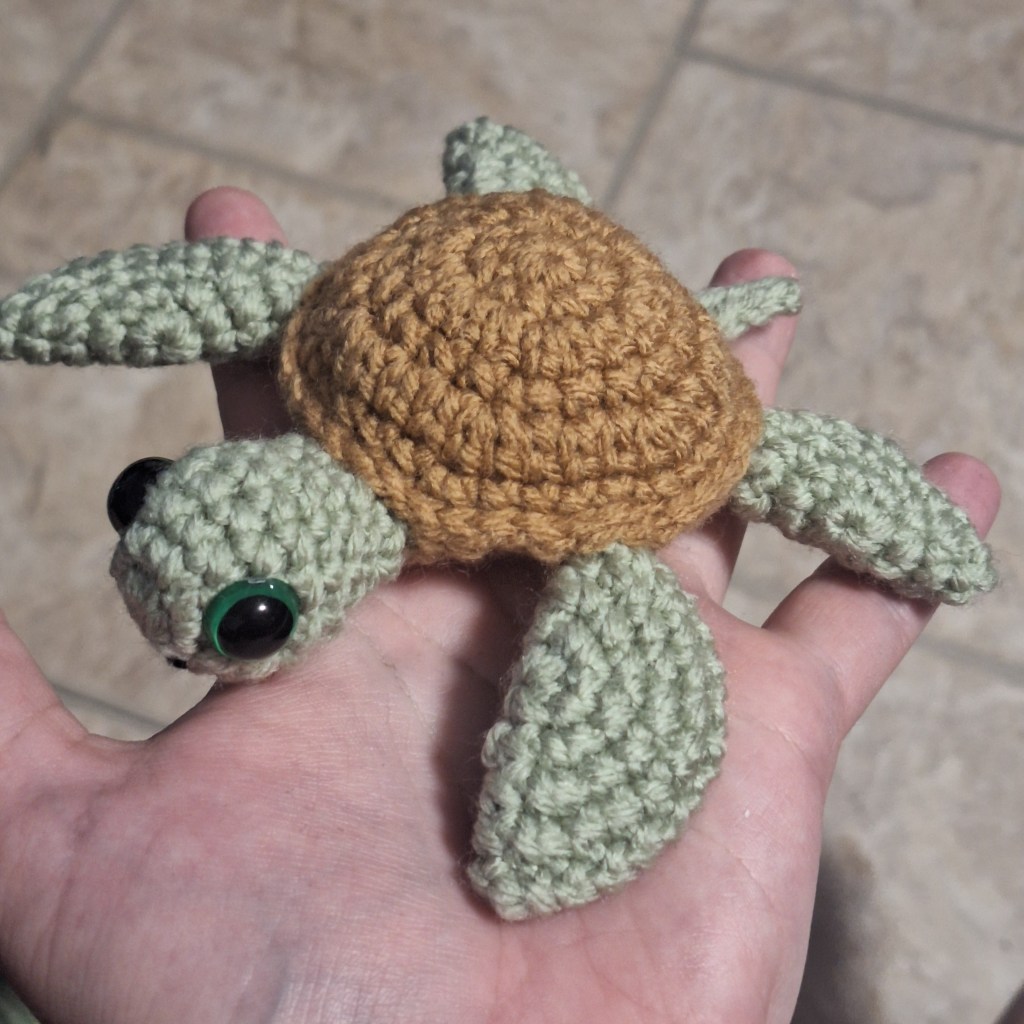
Sandwich Bottom Shell against Top Shell, WS to WS, with the st to the left of the tail lined up with next st of Top Shell.
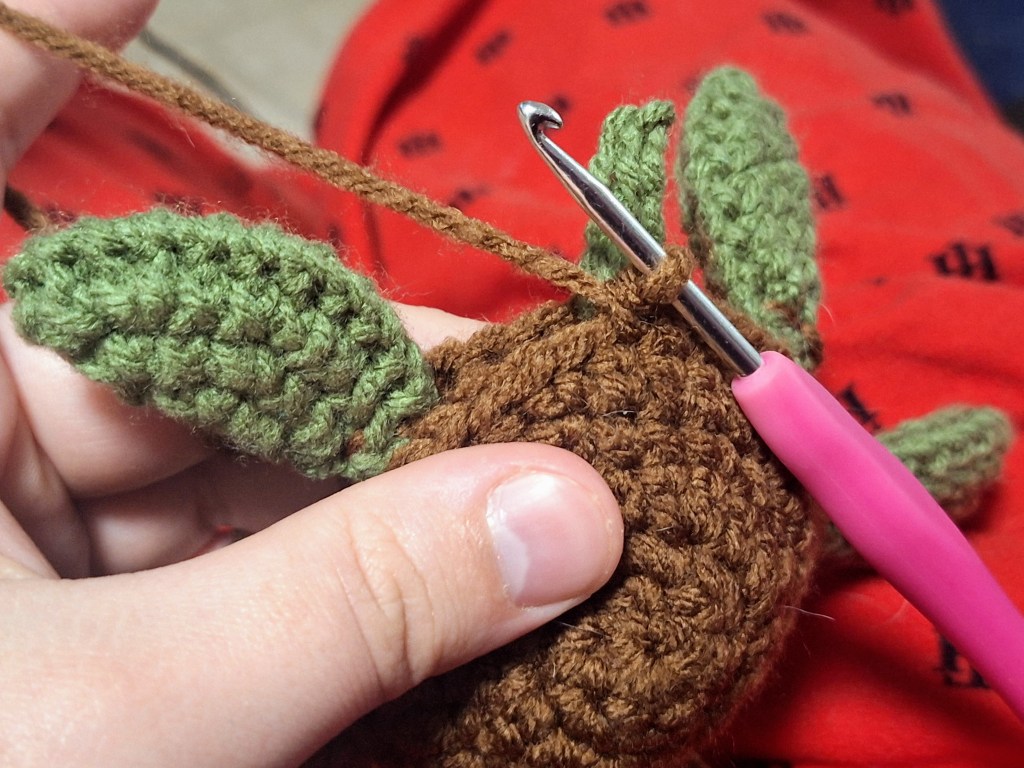

7. Working through both loops of Top Shell and back loops of Bottom Shell (see photos above for reference), sl st 3. Over Back Fin A, work through both loops of Top Shell only, sl st 2. Working through both loops of Top Shell and back loops of Bottom Shell, sl st 4. Over Front Fin A, work through both loops of Top Shell only, sl st 2. Working through both loops of Top Shell and back loops of Bottom Shell, sl st 4. Over Head, work through both loops of Top Shell only, sl st 4. Working through both loops of Top Shell and back loops of Bottom Shell, sl st 4. Over Front Fin B, work through both loops of Top Shell only, sl st 4. Working through both loops of Top Shell and back loops of Bottom Shell, sl st 4. Stuff turtle before continuing. Over Back Fin B, work through both loops of Top Shell only, sl st 2. Working through both loops of Top Shell and back loops of Bottom Shell, sl st 3. Over Tail, work through both loops of Top Shell only, sl st 2.
Fasten off, leaving a long tail for sewing, and end with an invisible join. Use the long tail to sew any gaps along the shell edge, where the fins and head were attached in particular.


Leave a comment