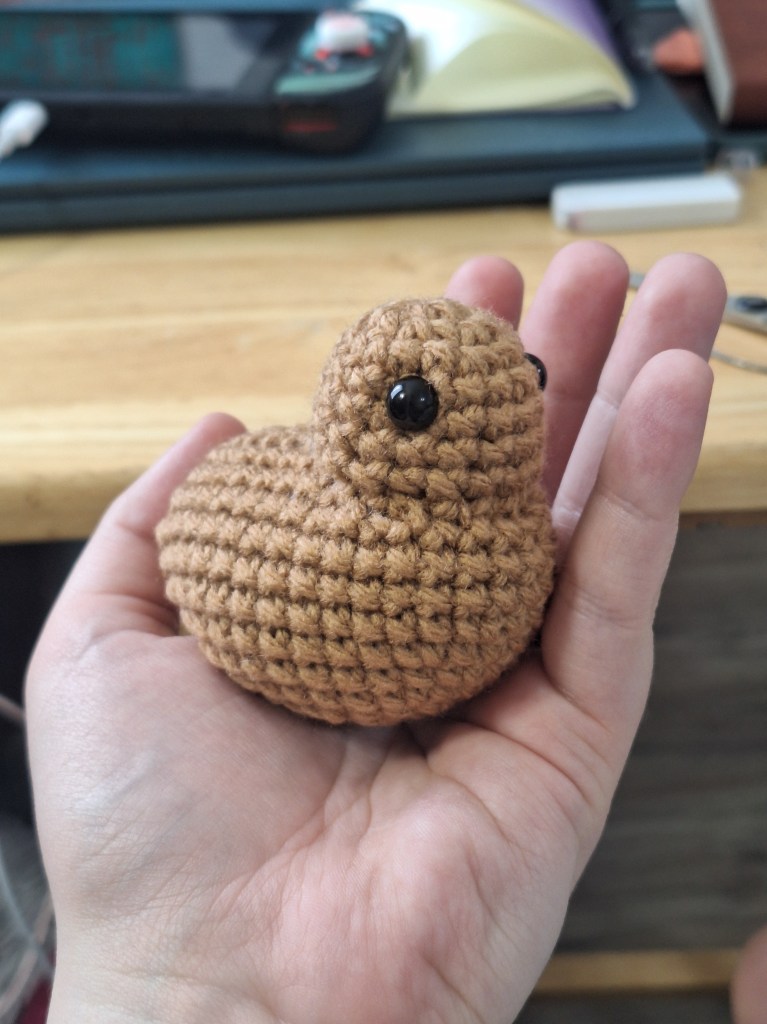
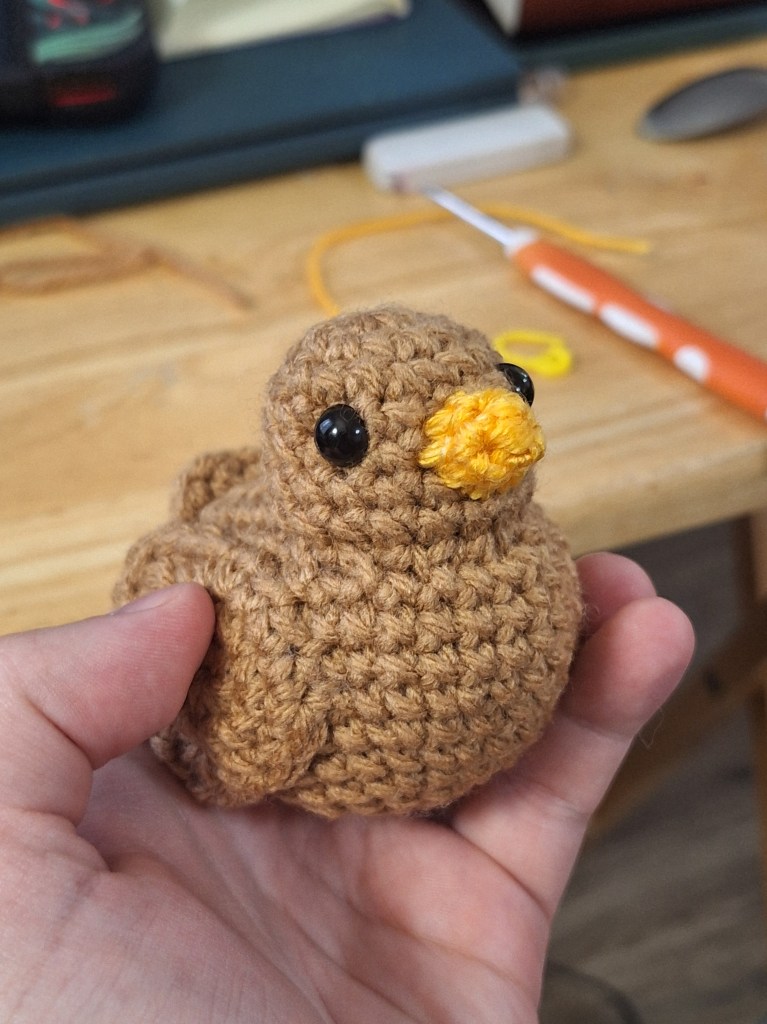
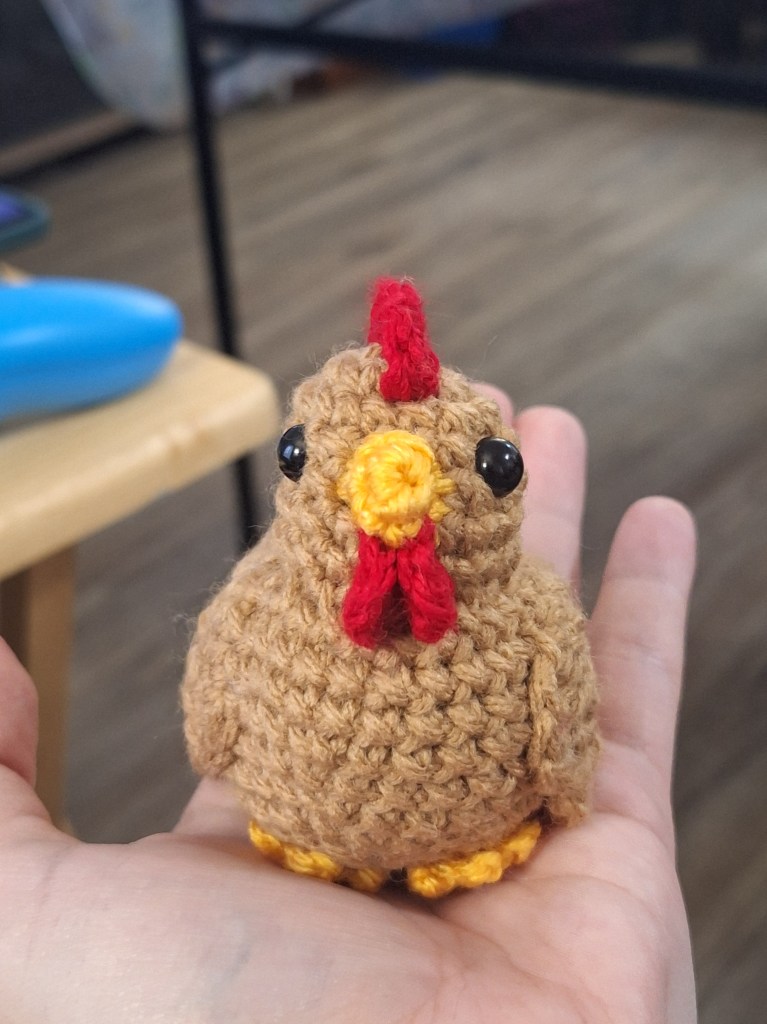
For the last few weeks, I’ve been really enjoying playing the game Stardew Valley. That game involves building up a farm, and on that farm are all the classic farm animals. I’ve always loved chickens, ever since I was a kid. I had a phase where I was doing extensive research into chickens – different breeds, how to raise them, styles of coops, and all the stuff in between. Stardew Valley has resurfaced this passion for me, so I decided to channel it into crocheting some plushie chickens. And I’ve decided to not only share pictures of these adorable birds, but also to share the pattern with you!
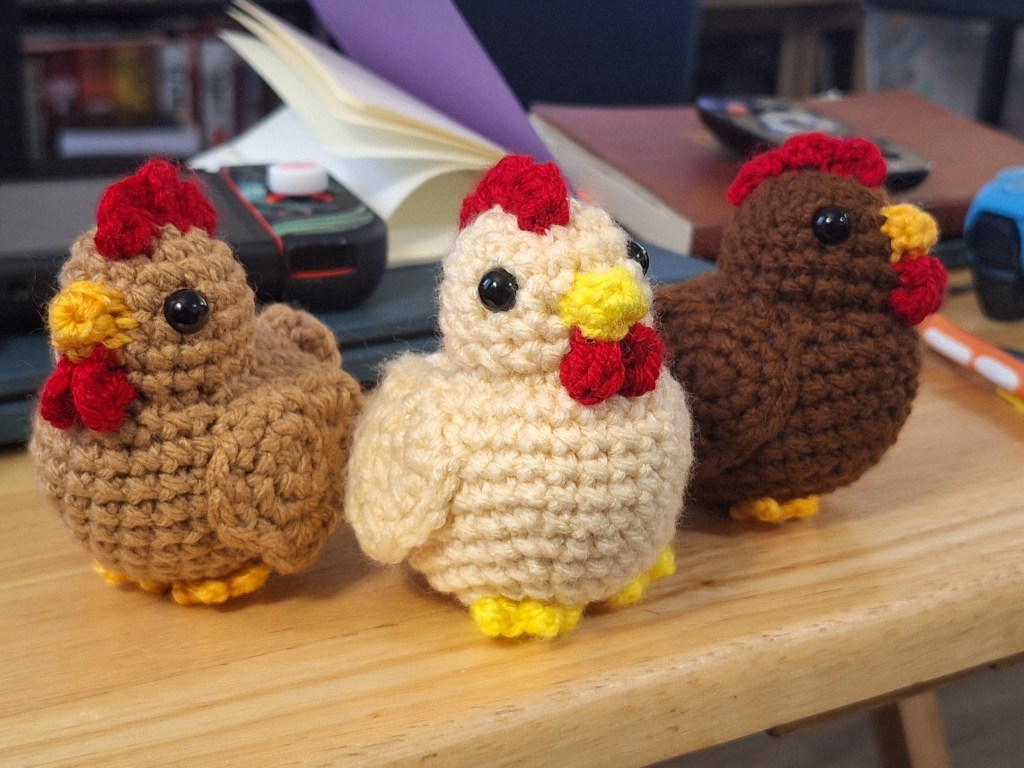
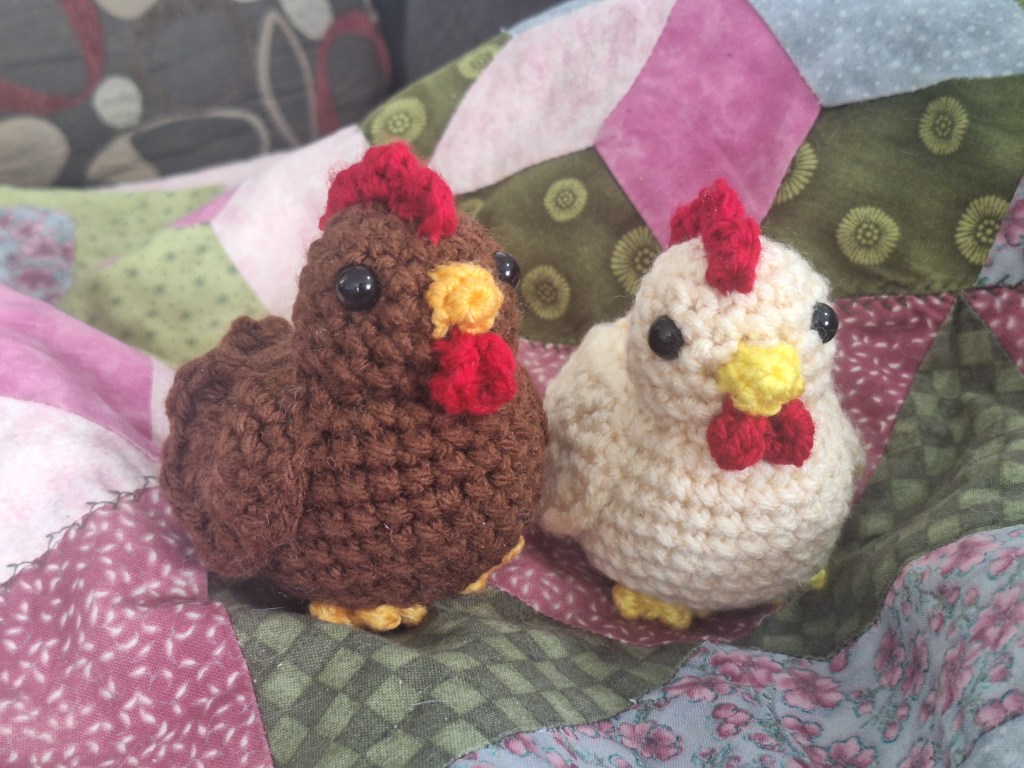
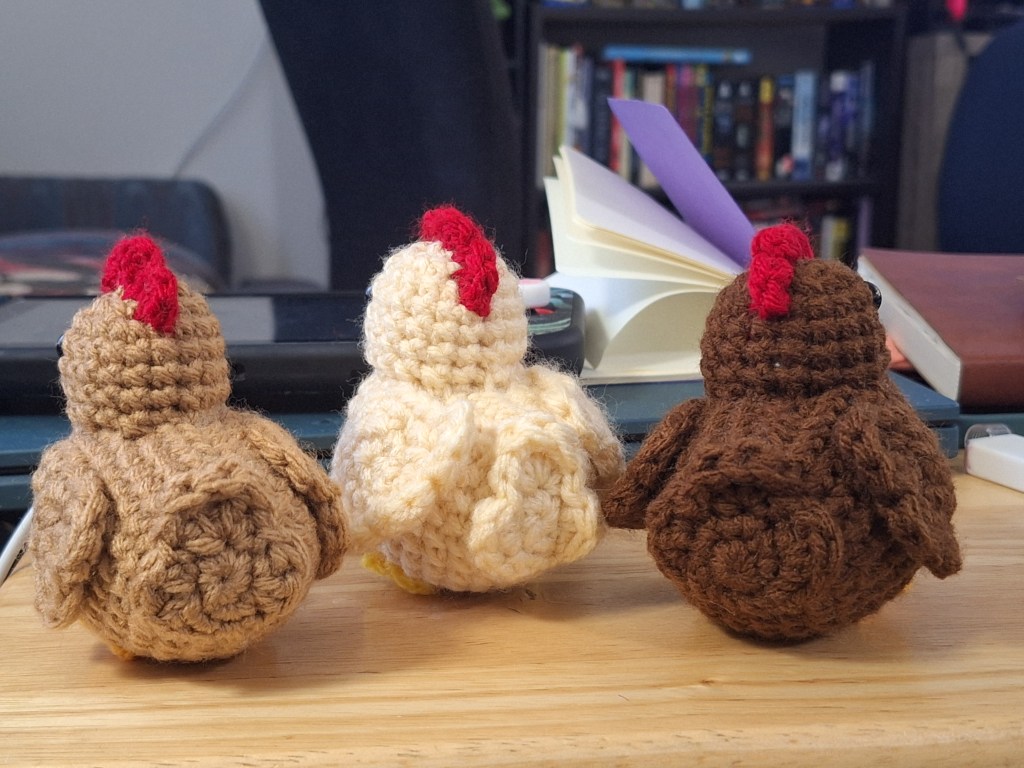
I’m really happy with how this design came out! It’s super cute and pretty easy to work up – it’s definitely more intermediate, though, because there are a few tricky parts.
Plushie Chicken Pattern
Materials
- Worsted Weight acrylic yarn in body colour, red, and yellow
- 3.5mm hook
- 3.0mm hook
- 8mm safety eyes
- Stuffing
Abbreviations
MR = magic ring
Sc = single crochet
St(s) = stitch(es)
Inc = increase
Rnd(s) = round(s)
Dec = invisible decrease
Dc = double crochet
Esc = extended single crochet
Sl st = slip stitch
Tr = treble crochet
Ch = chain
Sc3tog = single crochet 3 together
Dc3tog = double crochet 3 together
Steps
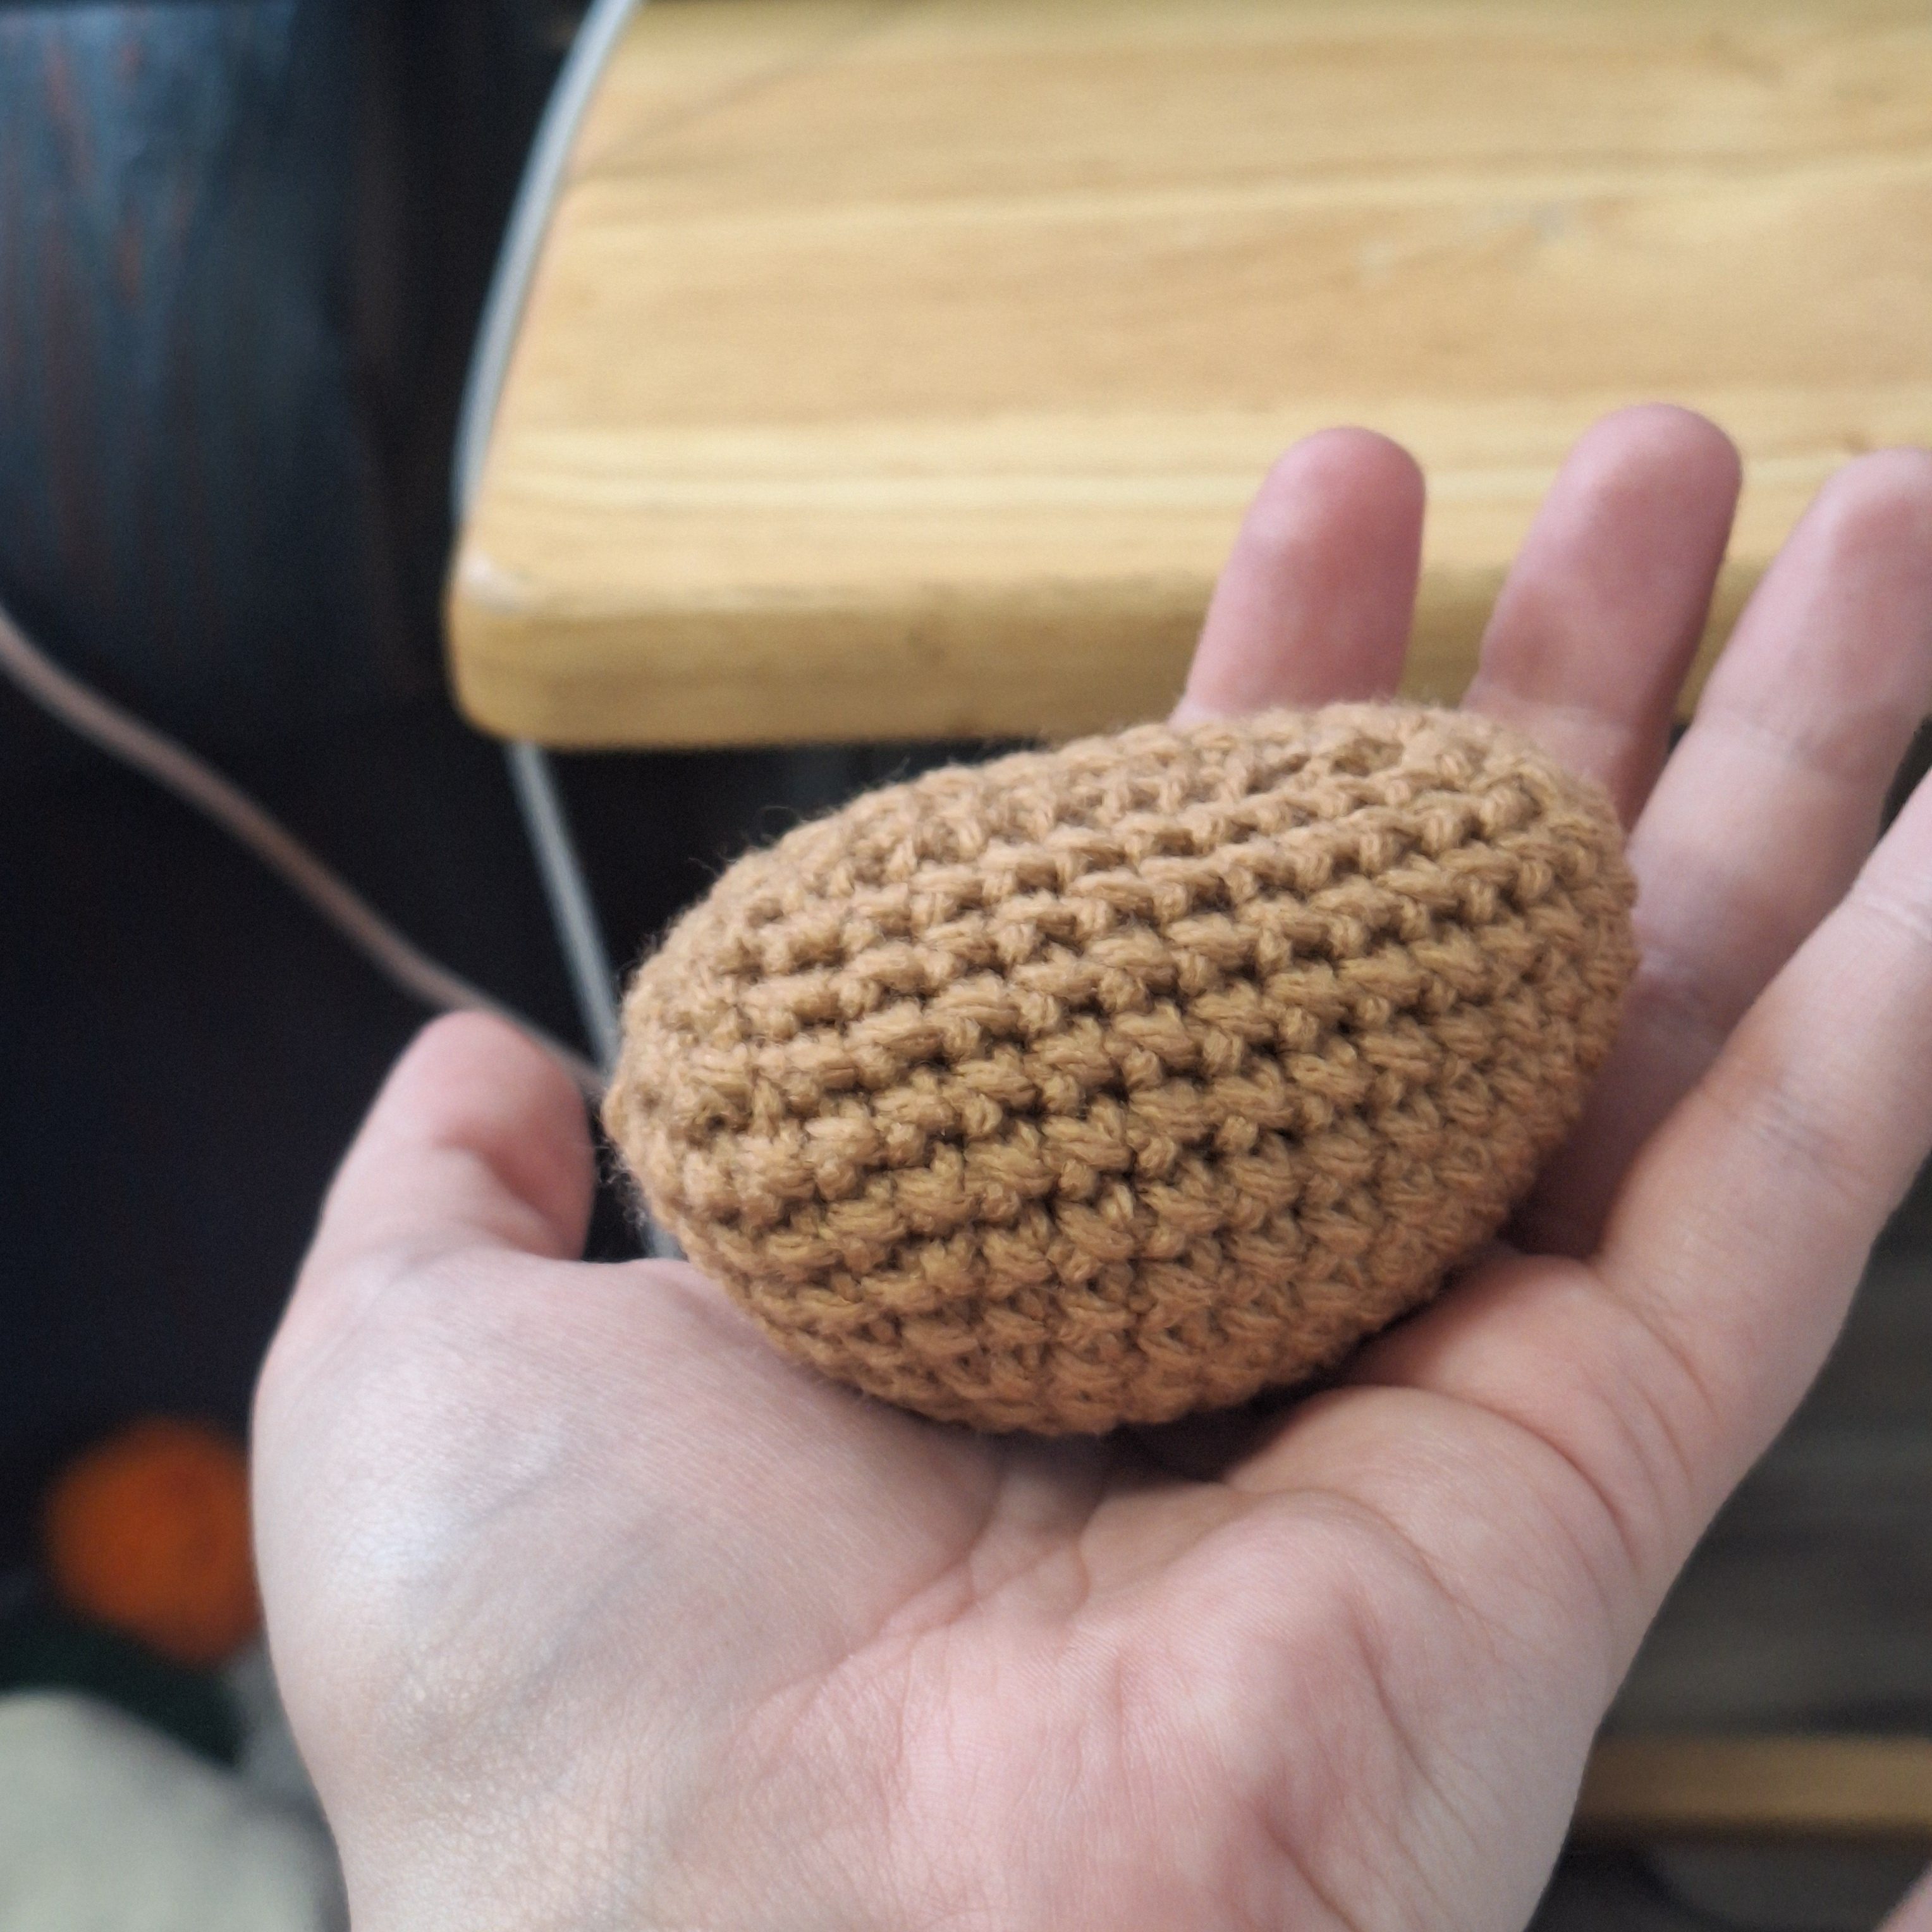
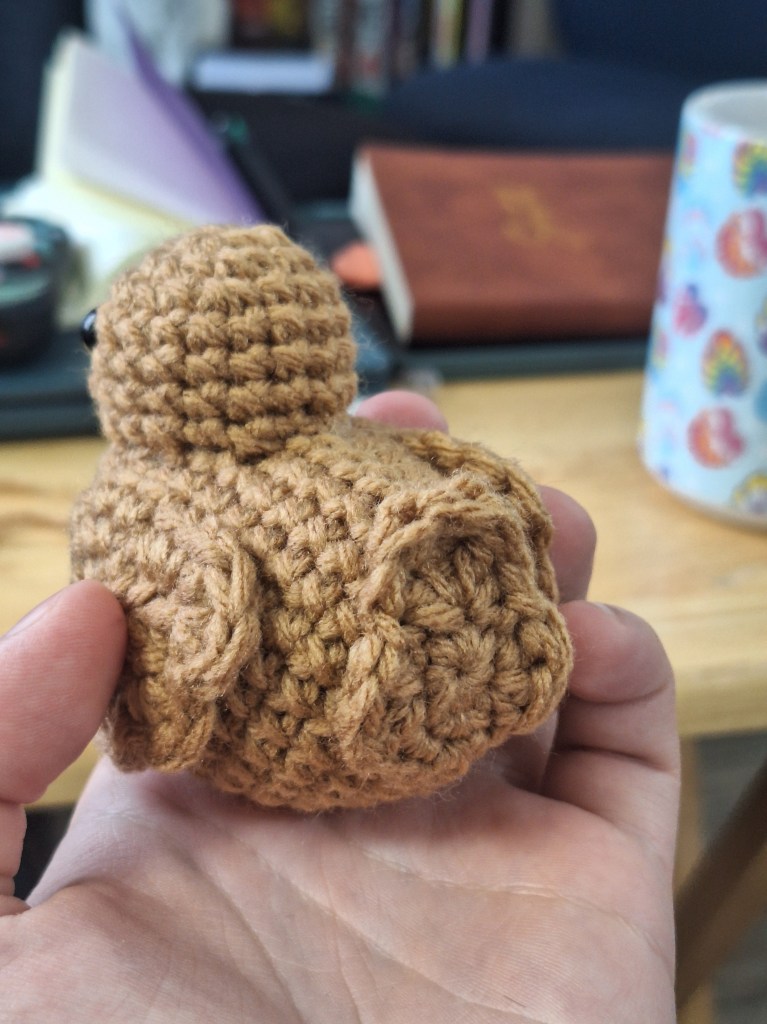
Body (3.5mm hook, body colour)
- MR 6 sc
- Inc 6 (12 sts)
- (Inc, sc) 6x (18 sts)
- (Inc, sc 2) 6x (24 sts)
- (Inc, sc 7) 3x (27 sts)
- (Inc, sc 8) 3x (30 sts)
- (Inc, sc 9) 3x (33 sts)
- (Inc, sc 10) 3x (36 sts)
- Sc 3 rnds of 36 sts
- (Dec 4, sc 10) 2x (28 sts)
- (Dec 2, sc 10) 2x (24 sts)
Fasten off. Stuff and sew shut.
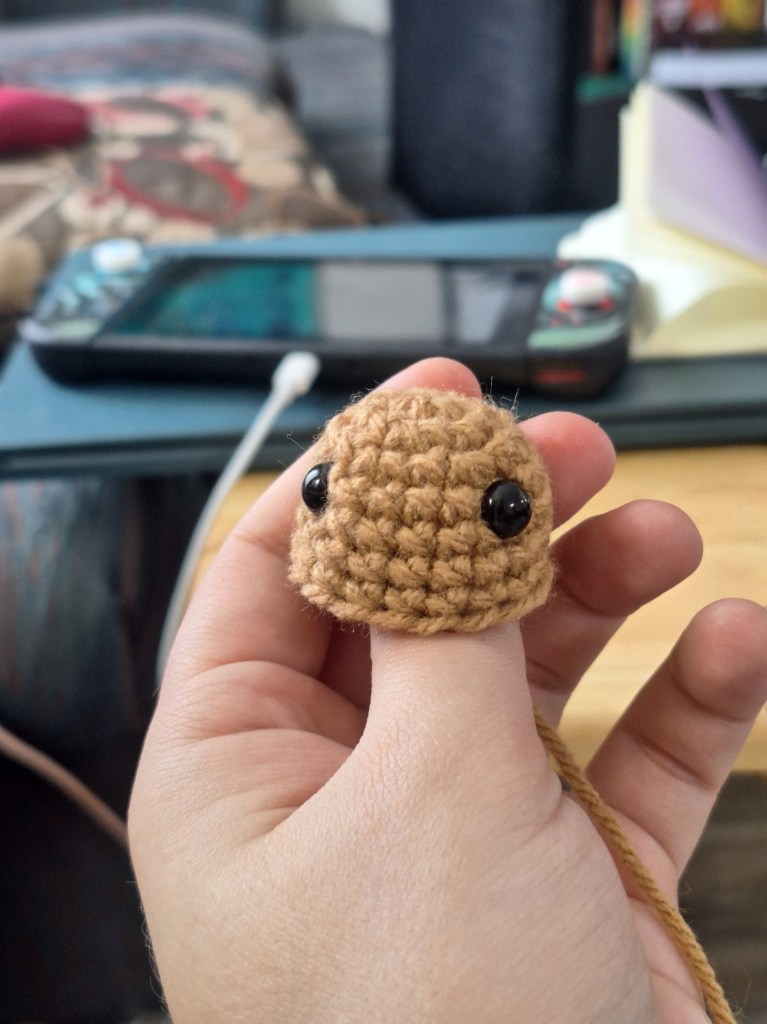
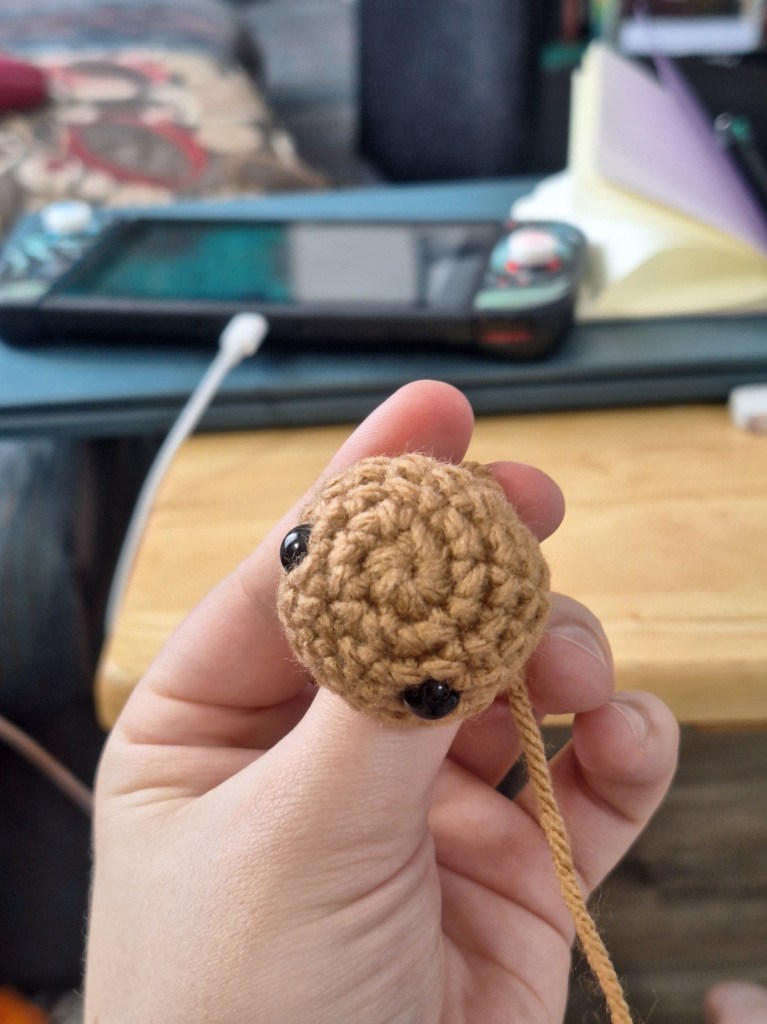
Head (3.5mm hook, body colour)
- MR 6 sc
- Inc 6 (12 sts)
- (Inc, sc) 6x (18 sts)
- Sc 4 rnds of 18 sts
Fasten off. Add safety eyes between rnd 4 and 5, about 5 sts apart. Stuff and sew onto body.
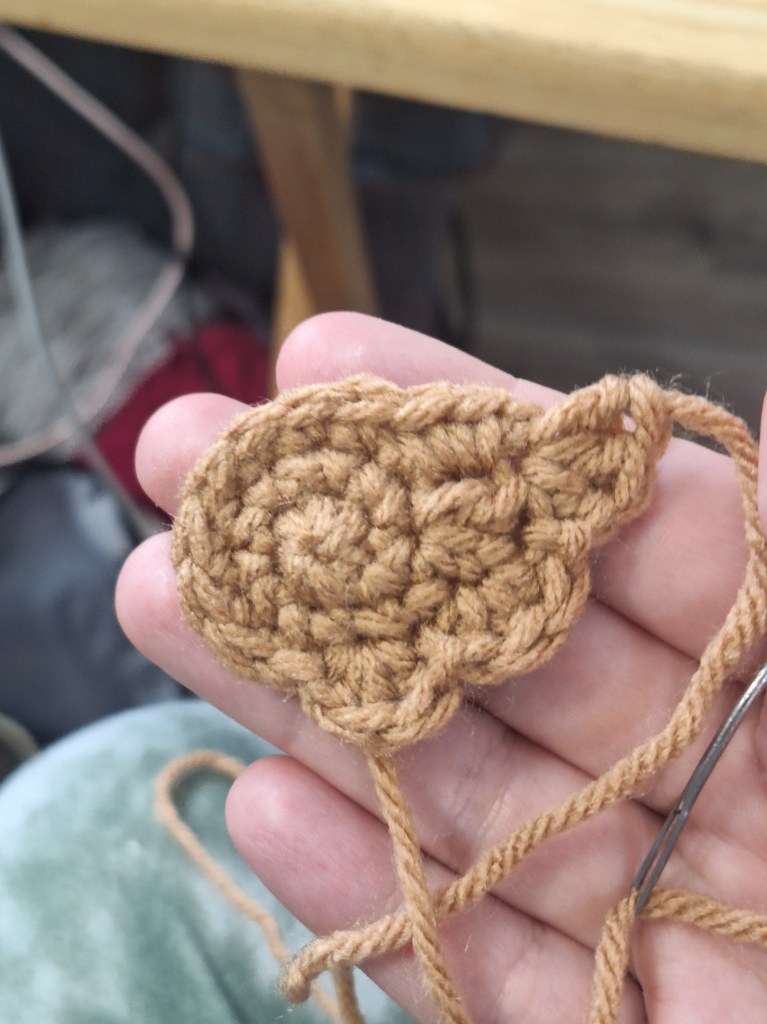
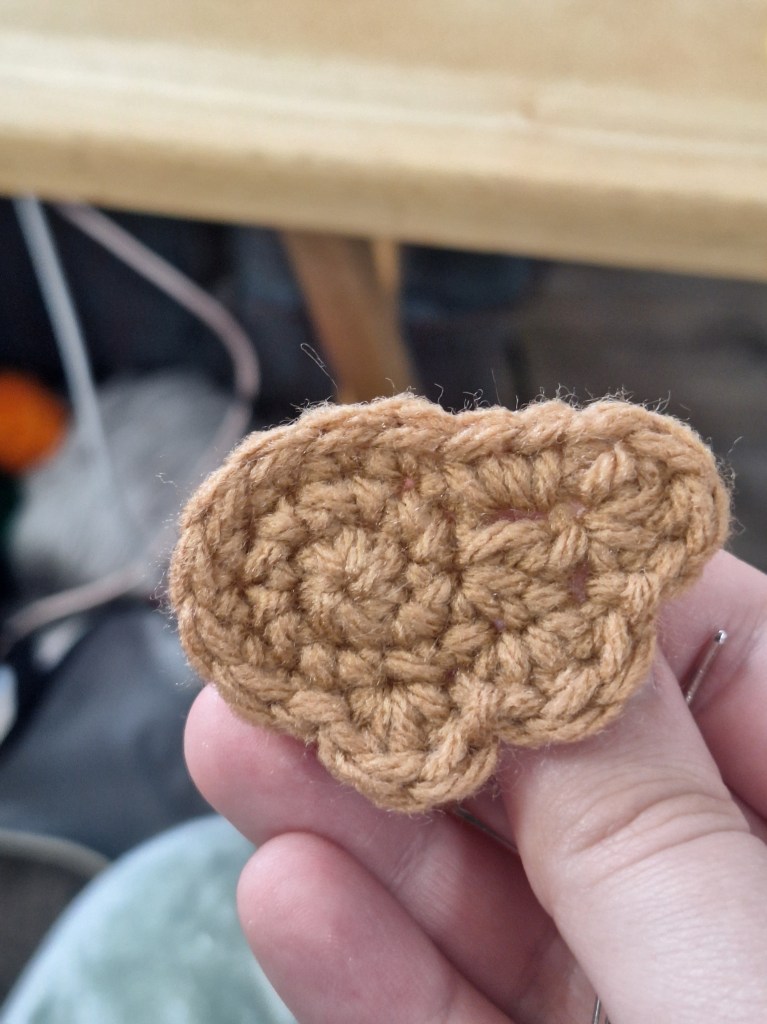
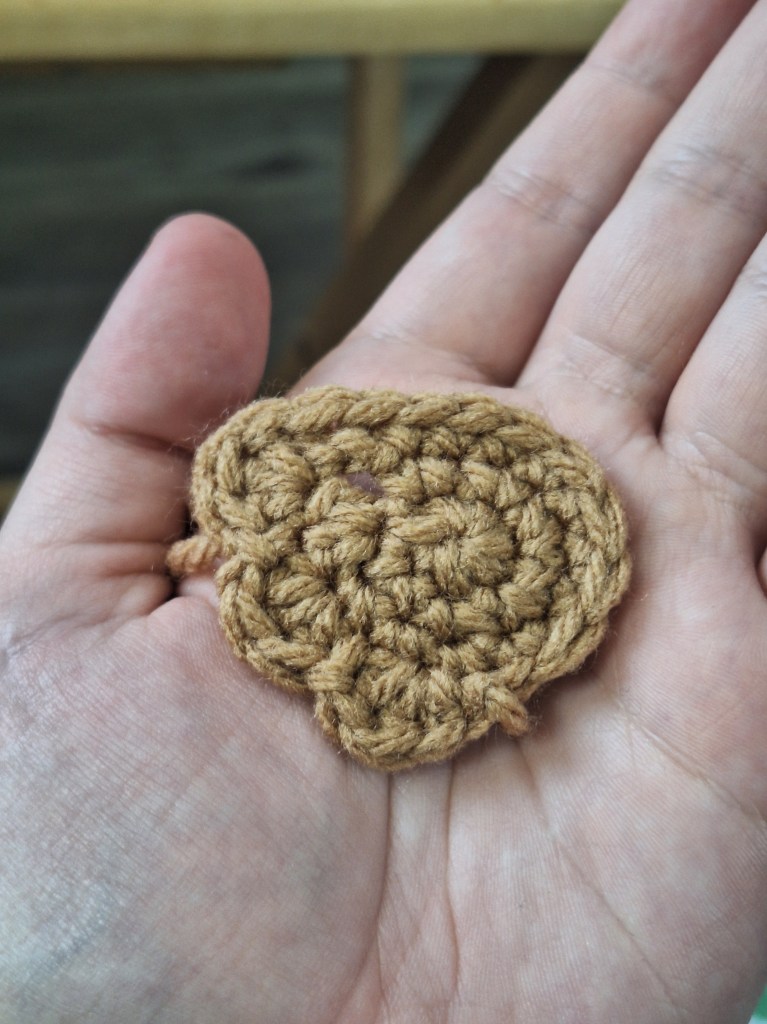
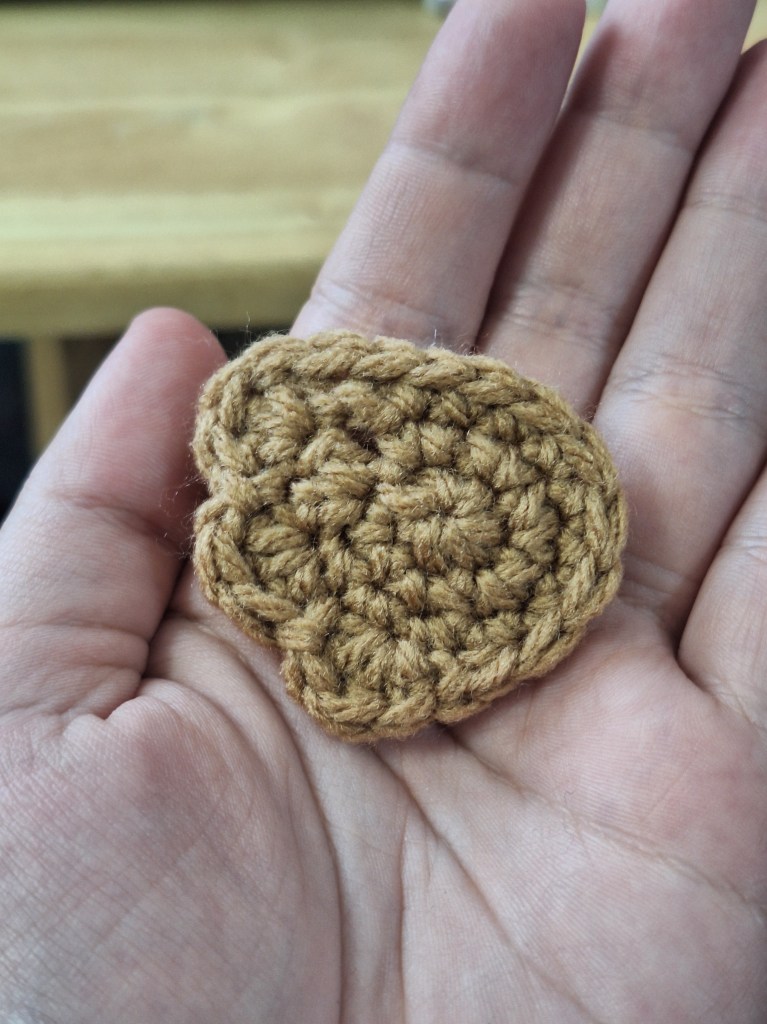
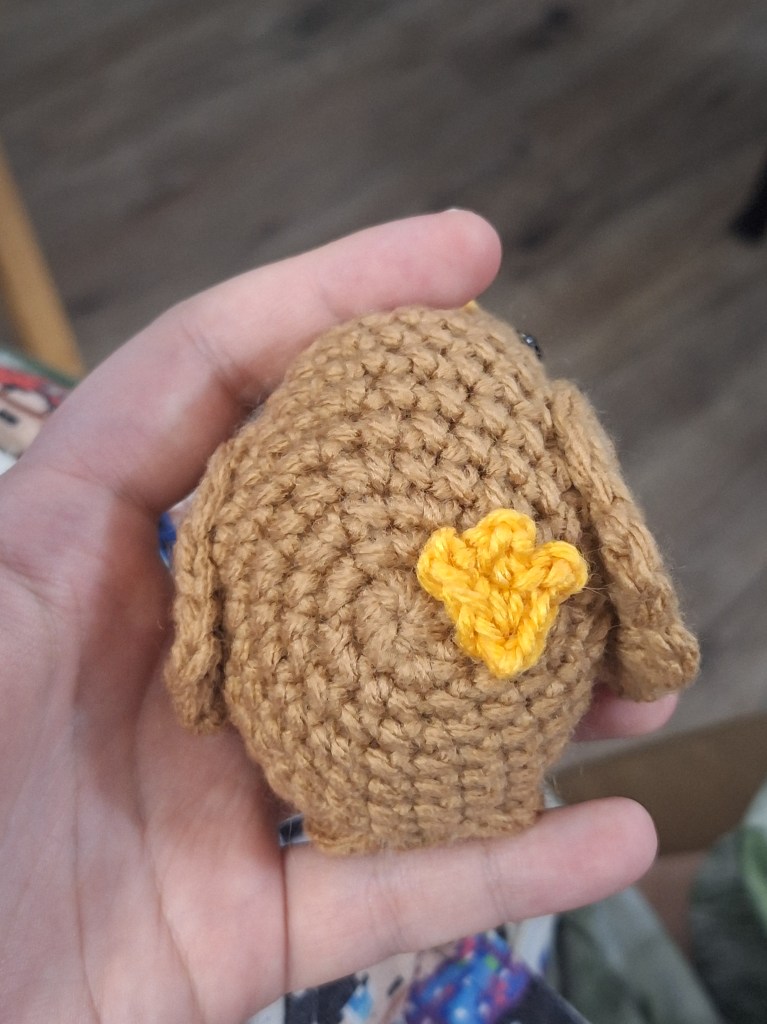
Left Wing (3.5mm hook, body colour)
- MR 6 sc
- Inc 6 (12 sts)
- Sc 2, (esc, dc) in next st, dc 1.
- Ch 1, sc 2 down side of dc, sc 7, sl st, (esc, dc 2) in next st, sl st, (dc 3) in next st, sl st, (dc 3) in next st.
Fasten off. Sew to connect to beginning of rnd, and sew onto left side of body.

Right Wing (3.5mm hook, body colour)
- MR 6 sc
- Inc 6 (12 sts)
- Ch 2, (dc, esc) in next st, sc 11, sc 2 down side of ch-2.
- (Dc 3) in first st, sl st, (dc 3) in next st, sl st, (dc 2, esc) in next st.
Fasten off. Sew to connect to beginning of rnd, and sew onto right side of body.
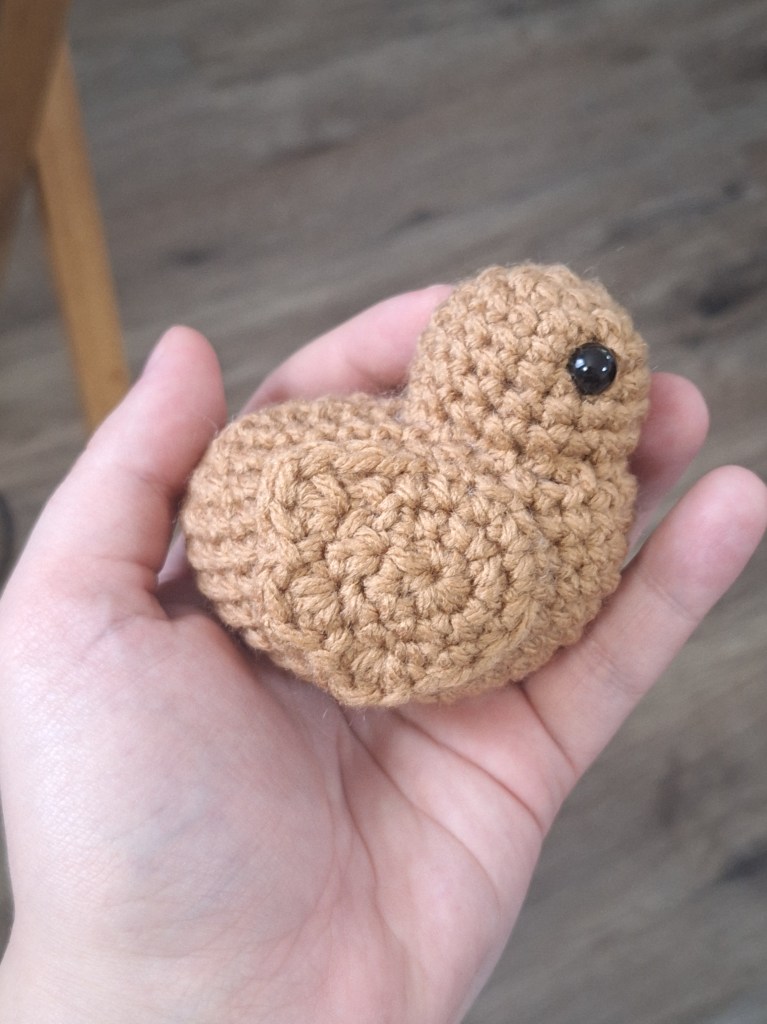
Tail (3.5mm hook, body colour)
- MR 6 sc
- Inc, (esc, dc 2) in next st, sl st, (dc, tr 3, dc) in next st, sl st, (dc 2, esc) in next st, inc.
Fasten off. Sew to connect to beginning of rnd, and sew onto back of body.
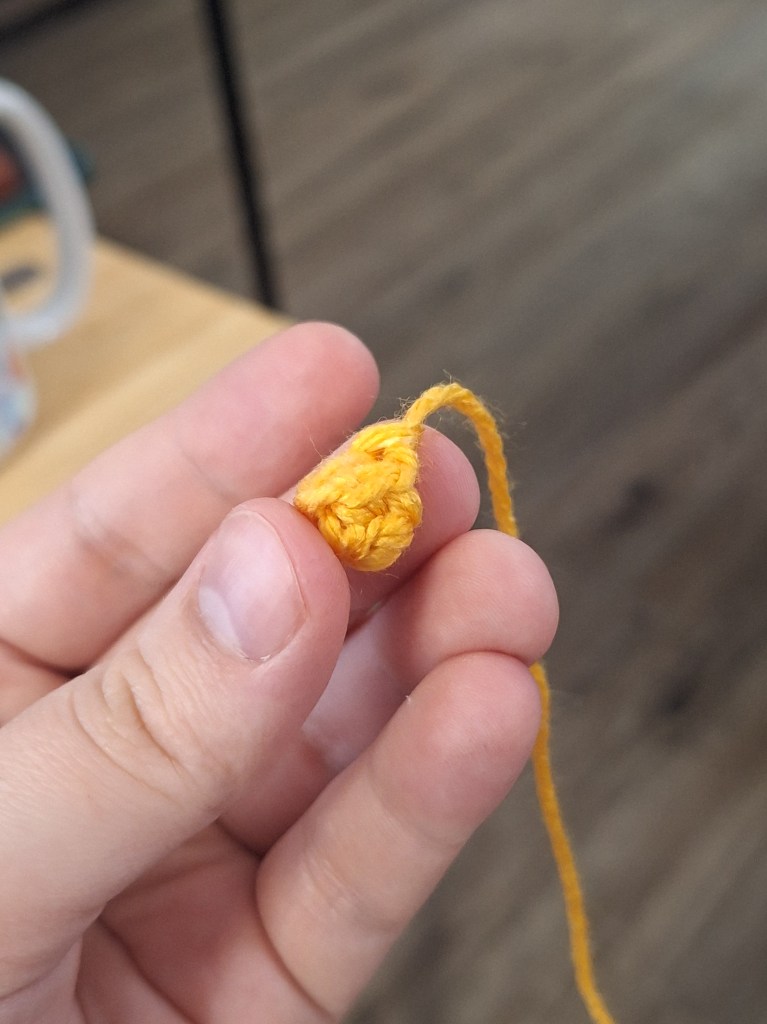
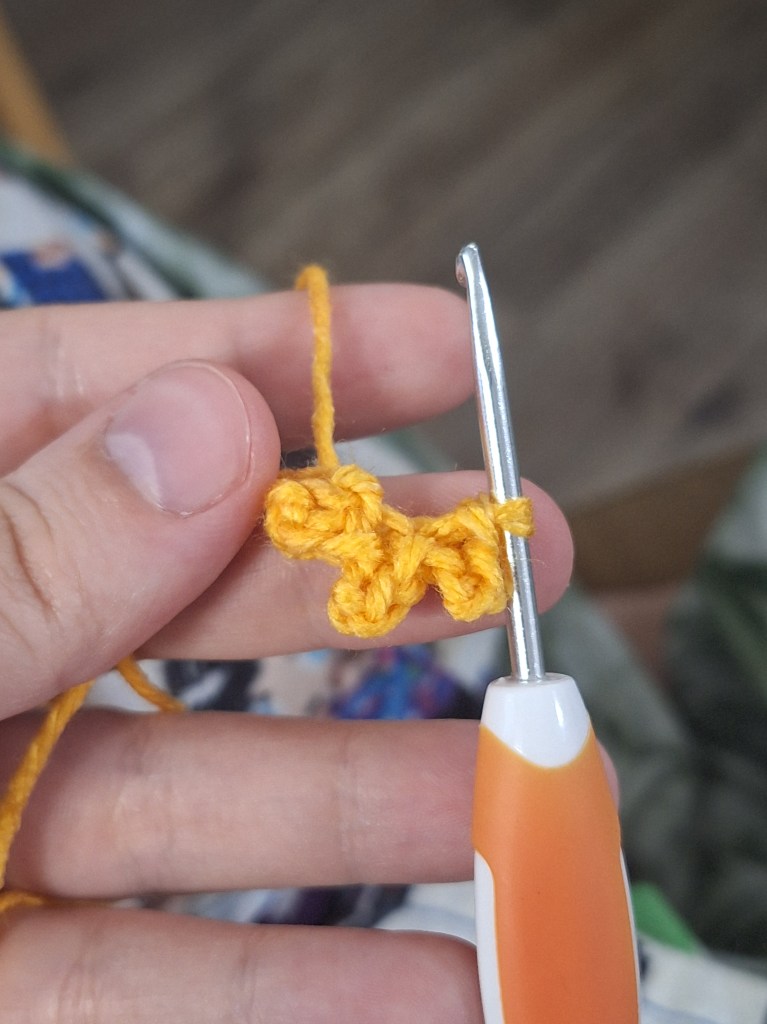
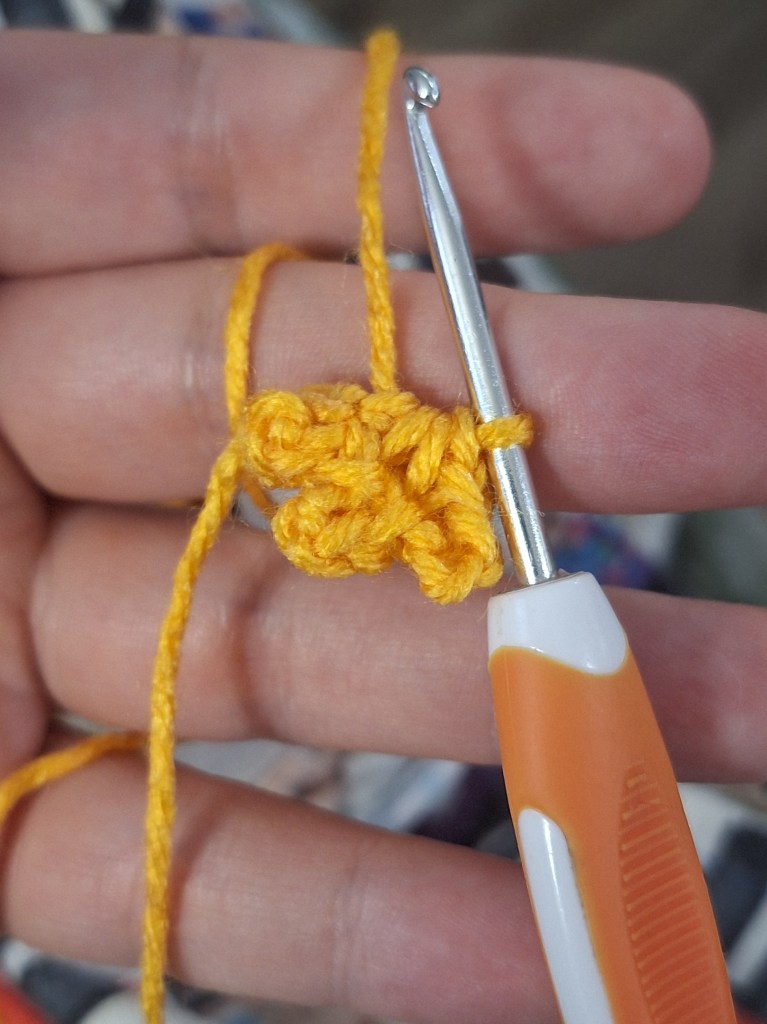
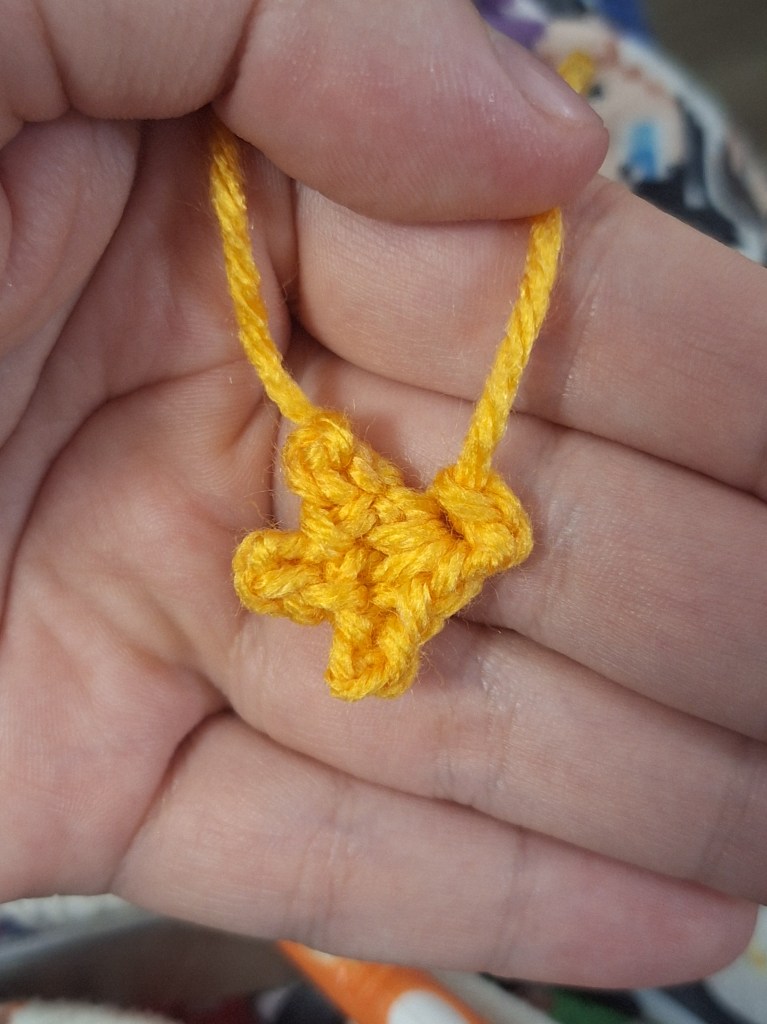
Beak (3.0mm hook, yellow)
- MR 5 sc
- Sc 1 rnd of 5 sts
Fasten off. Cut starting tail to about 3″ and stuff into beak. Sew onto head.

Feet (3.0mm hook, yellow)
- (Ch 3, sl st 2) 3x, sc3tog, ch 2, sl st.
Fasten off. Sew to connect to beginning of rnd, and sew onto body.
Make two.
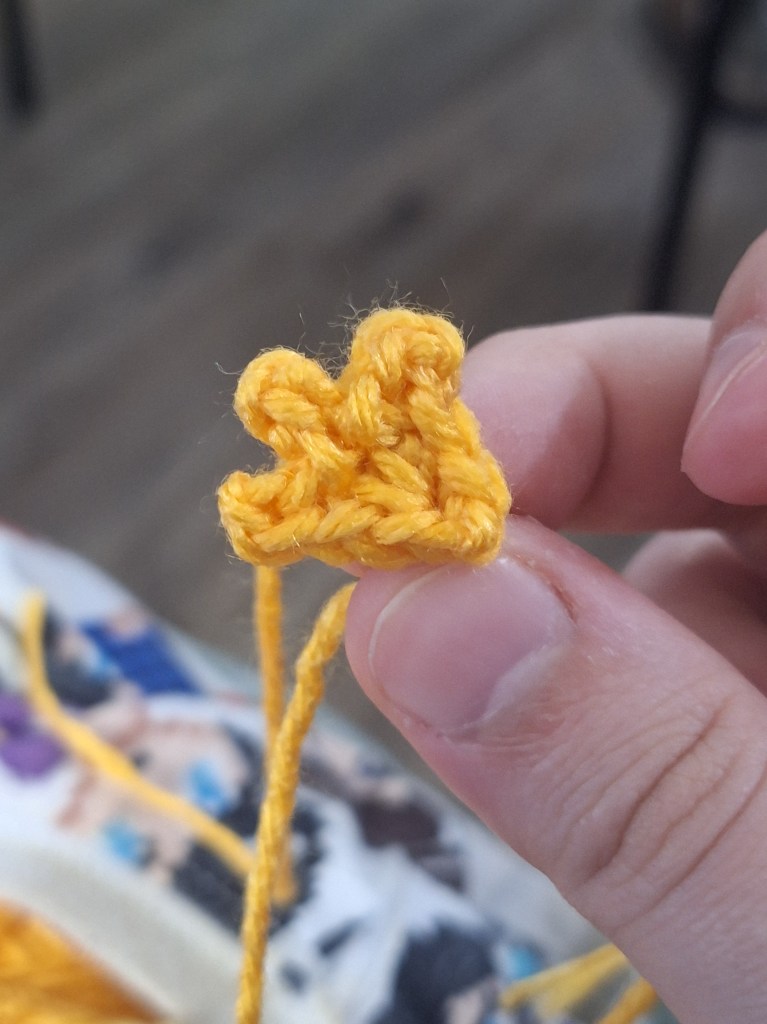

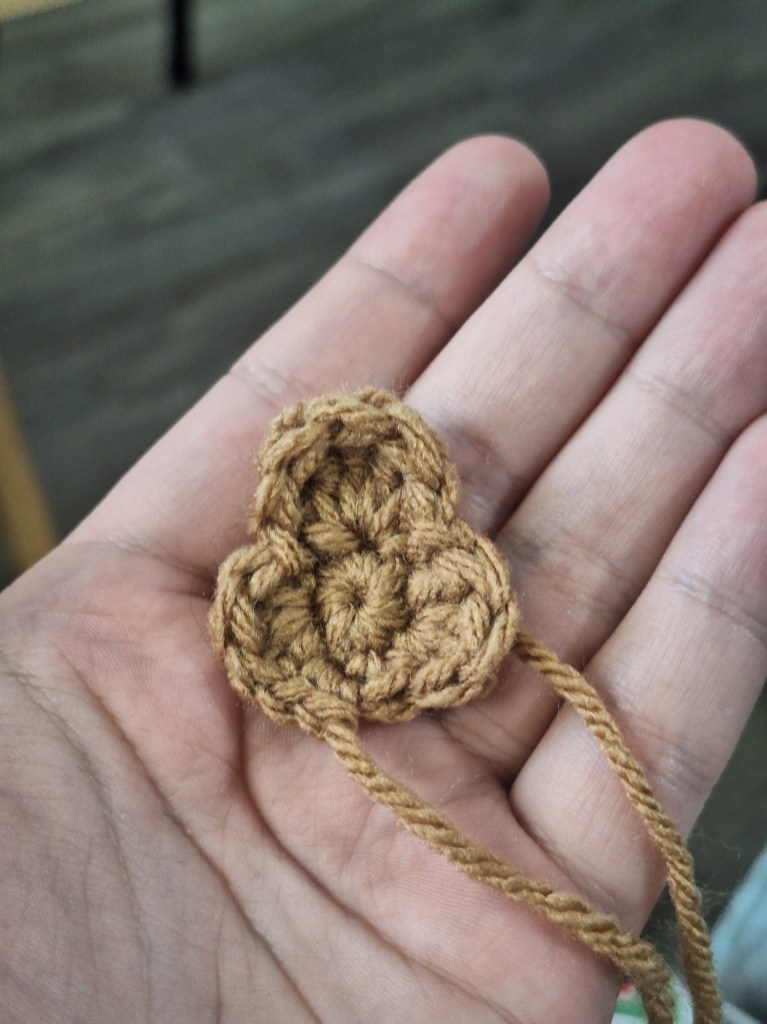
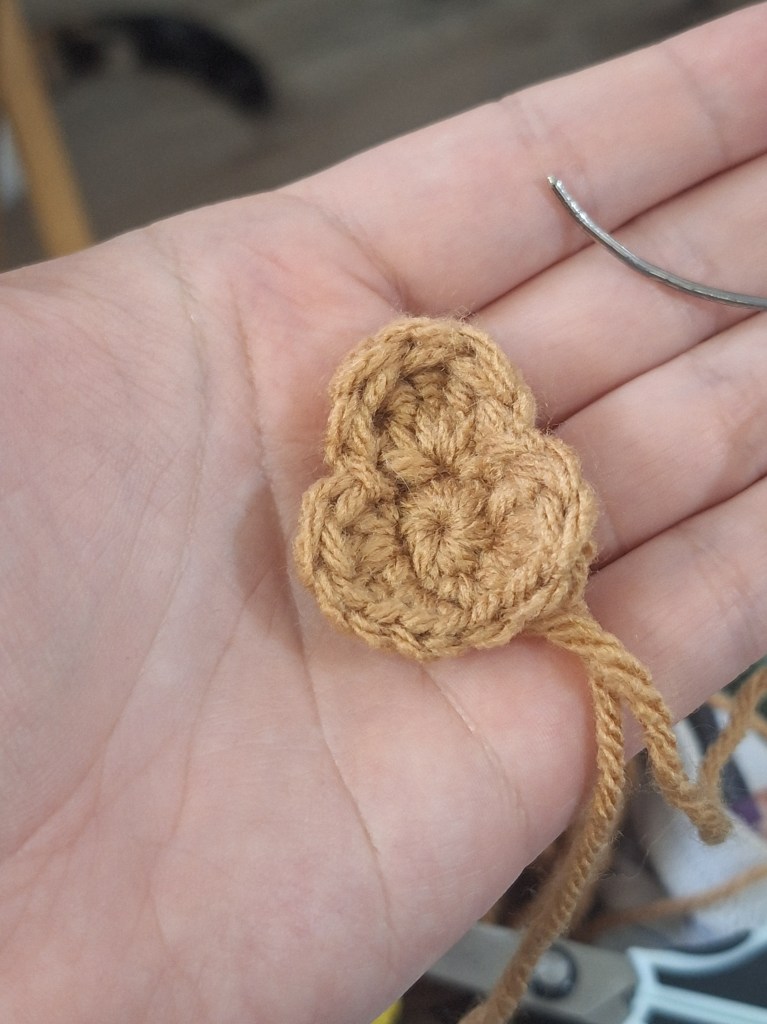
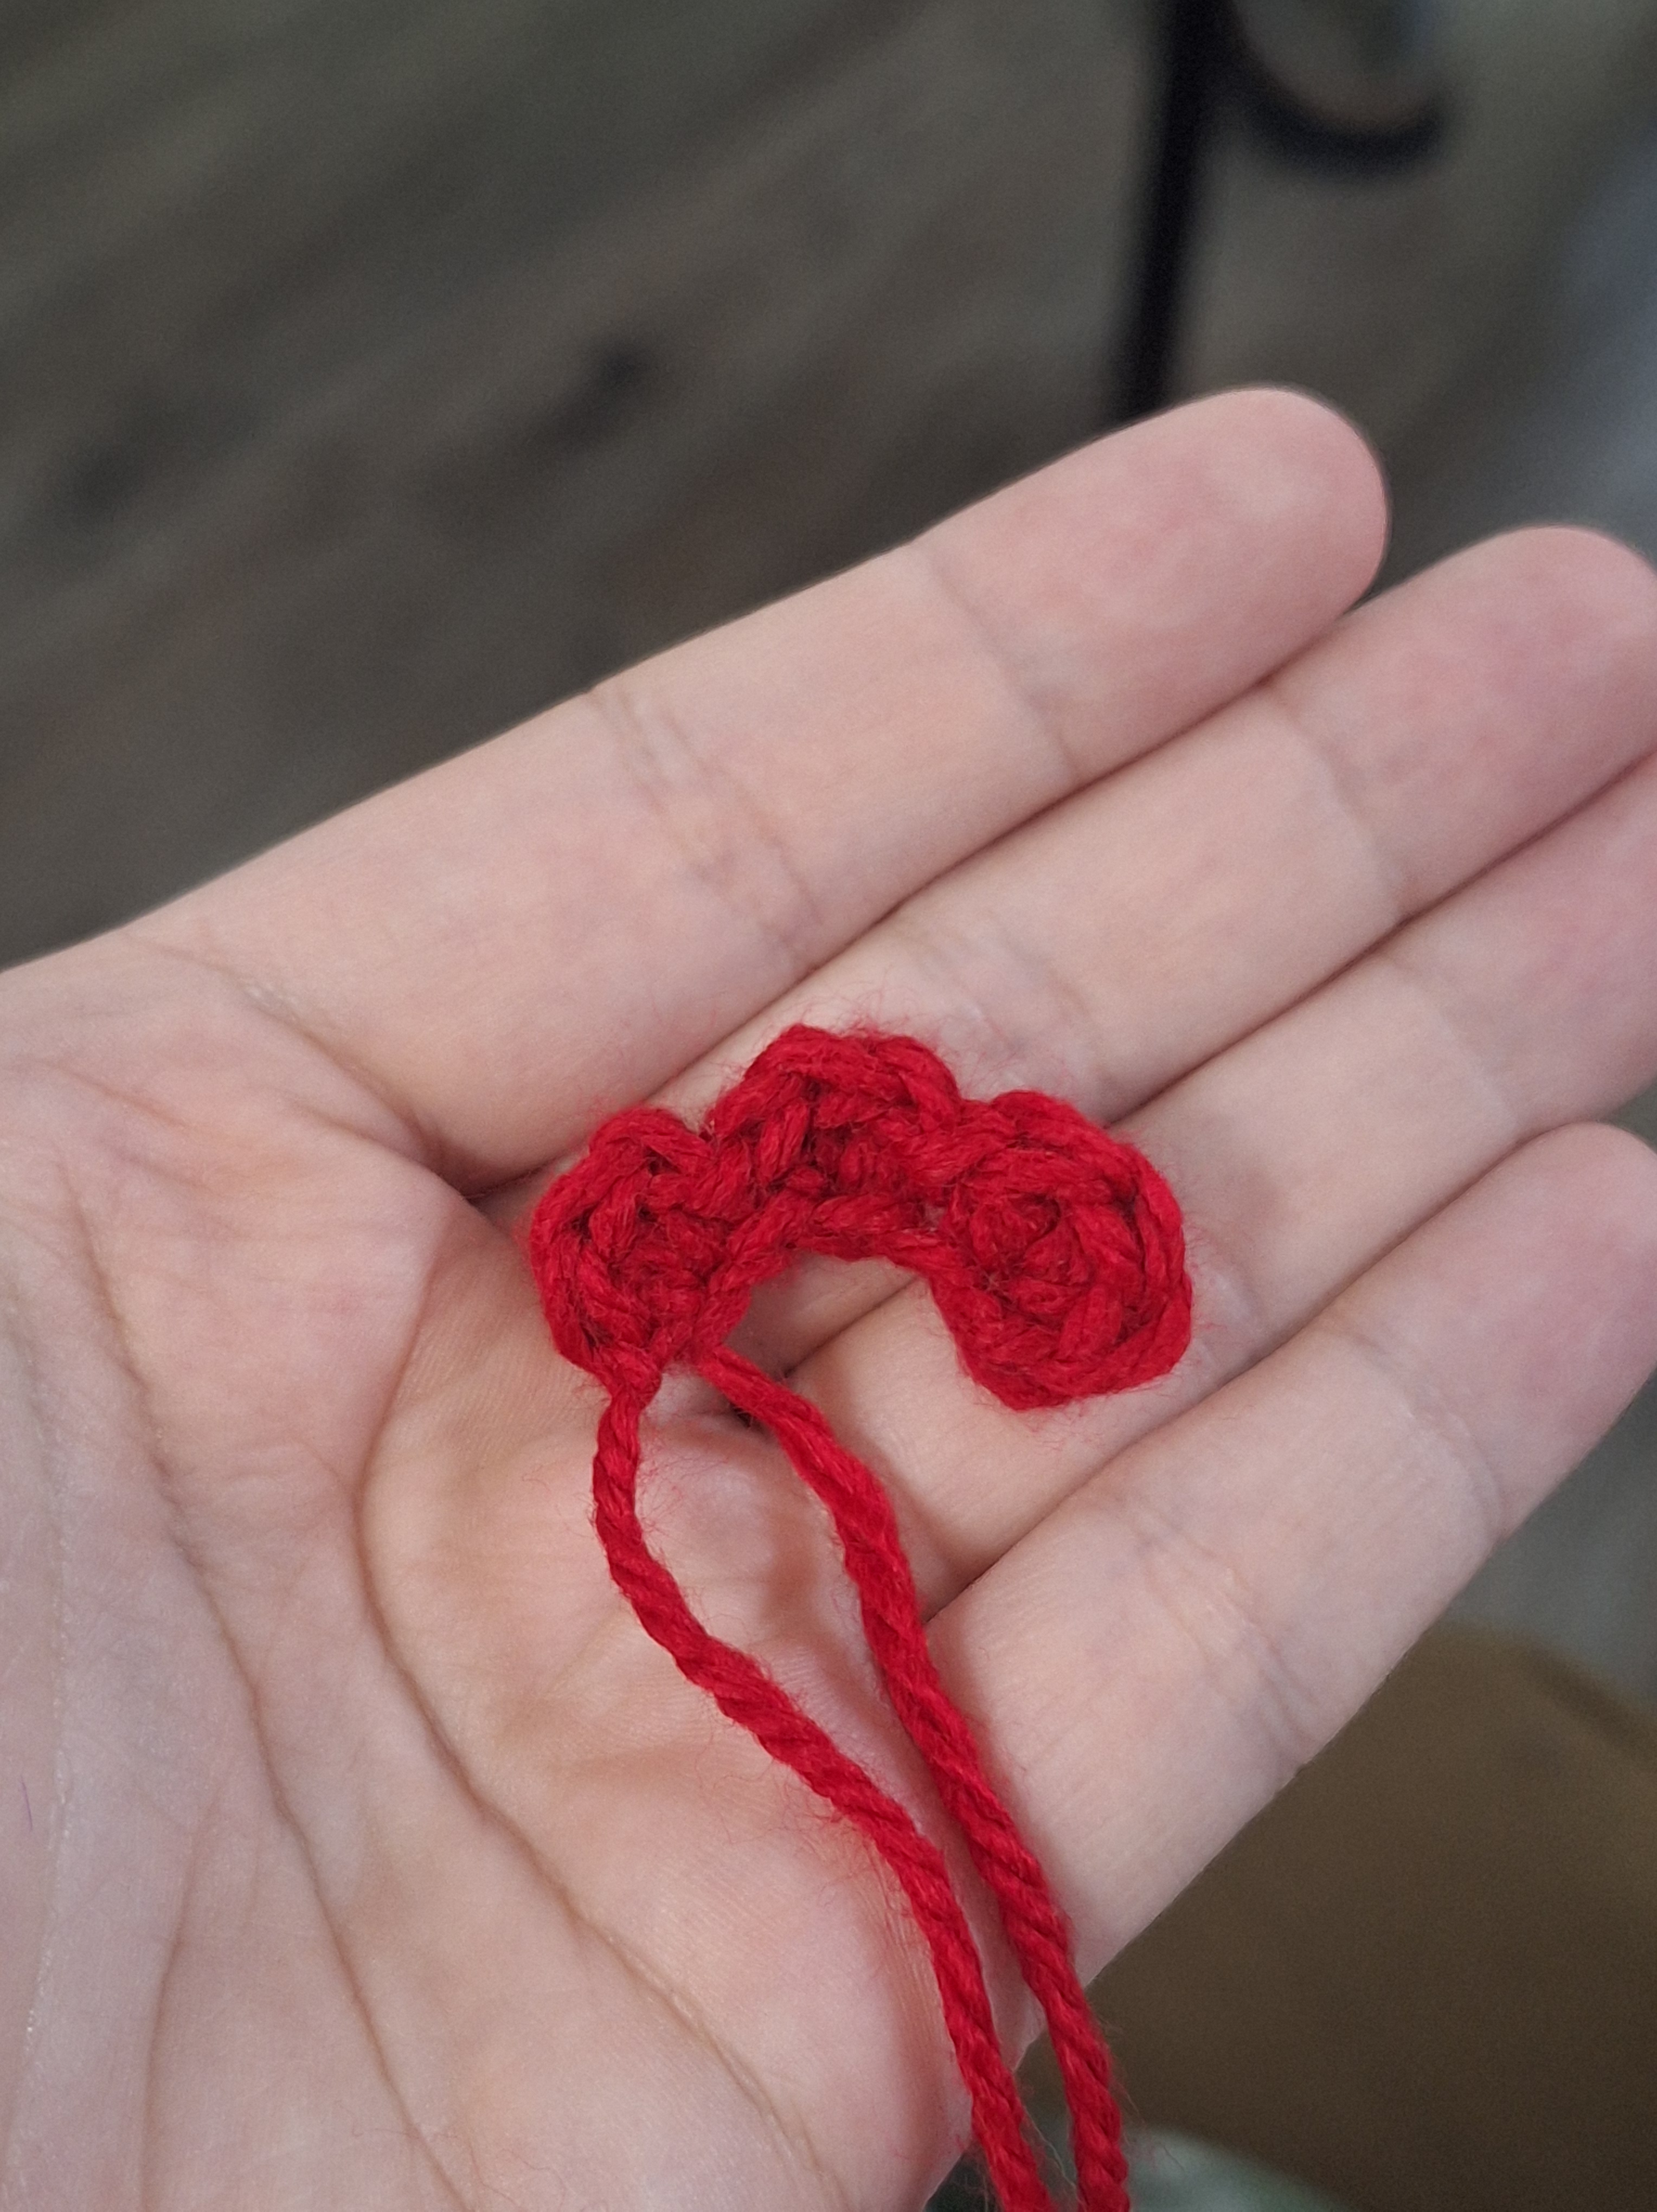
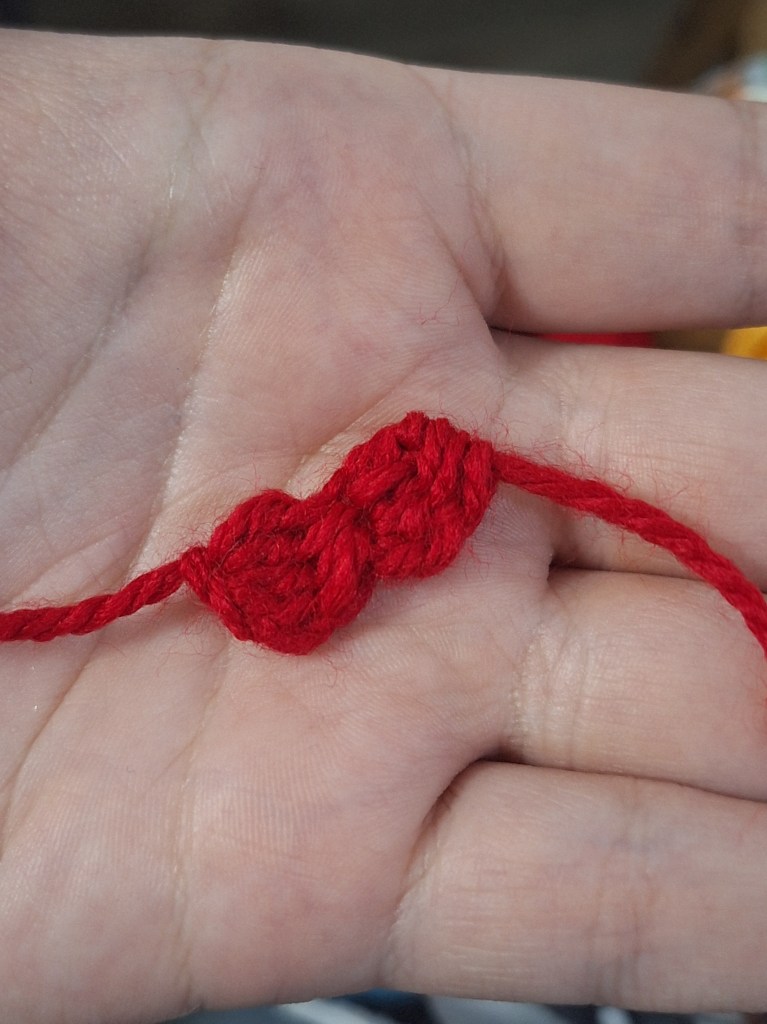
Comb (3.0mm hook, red)
- Ch 6.
- (Dc 3) in 2nd ch, sl st, (dc 3) in next ch, sl st, (dc 3, sl st) in last ch.
Fasten off and sew onto head.
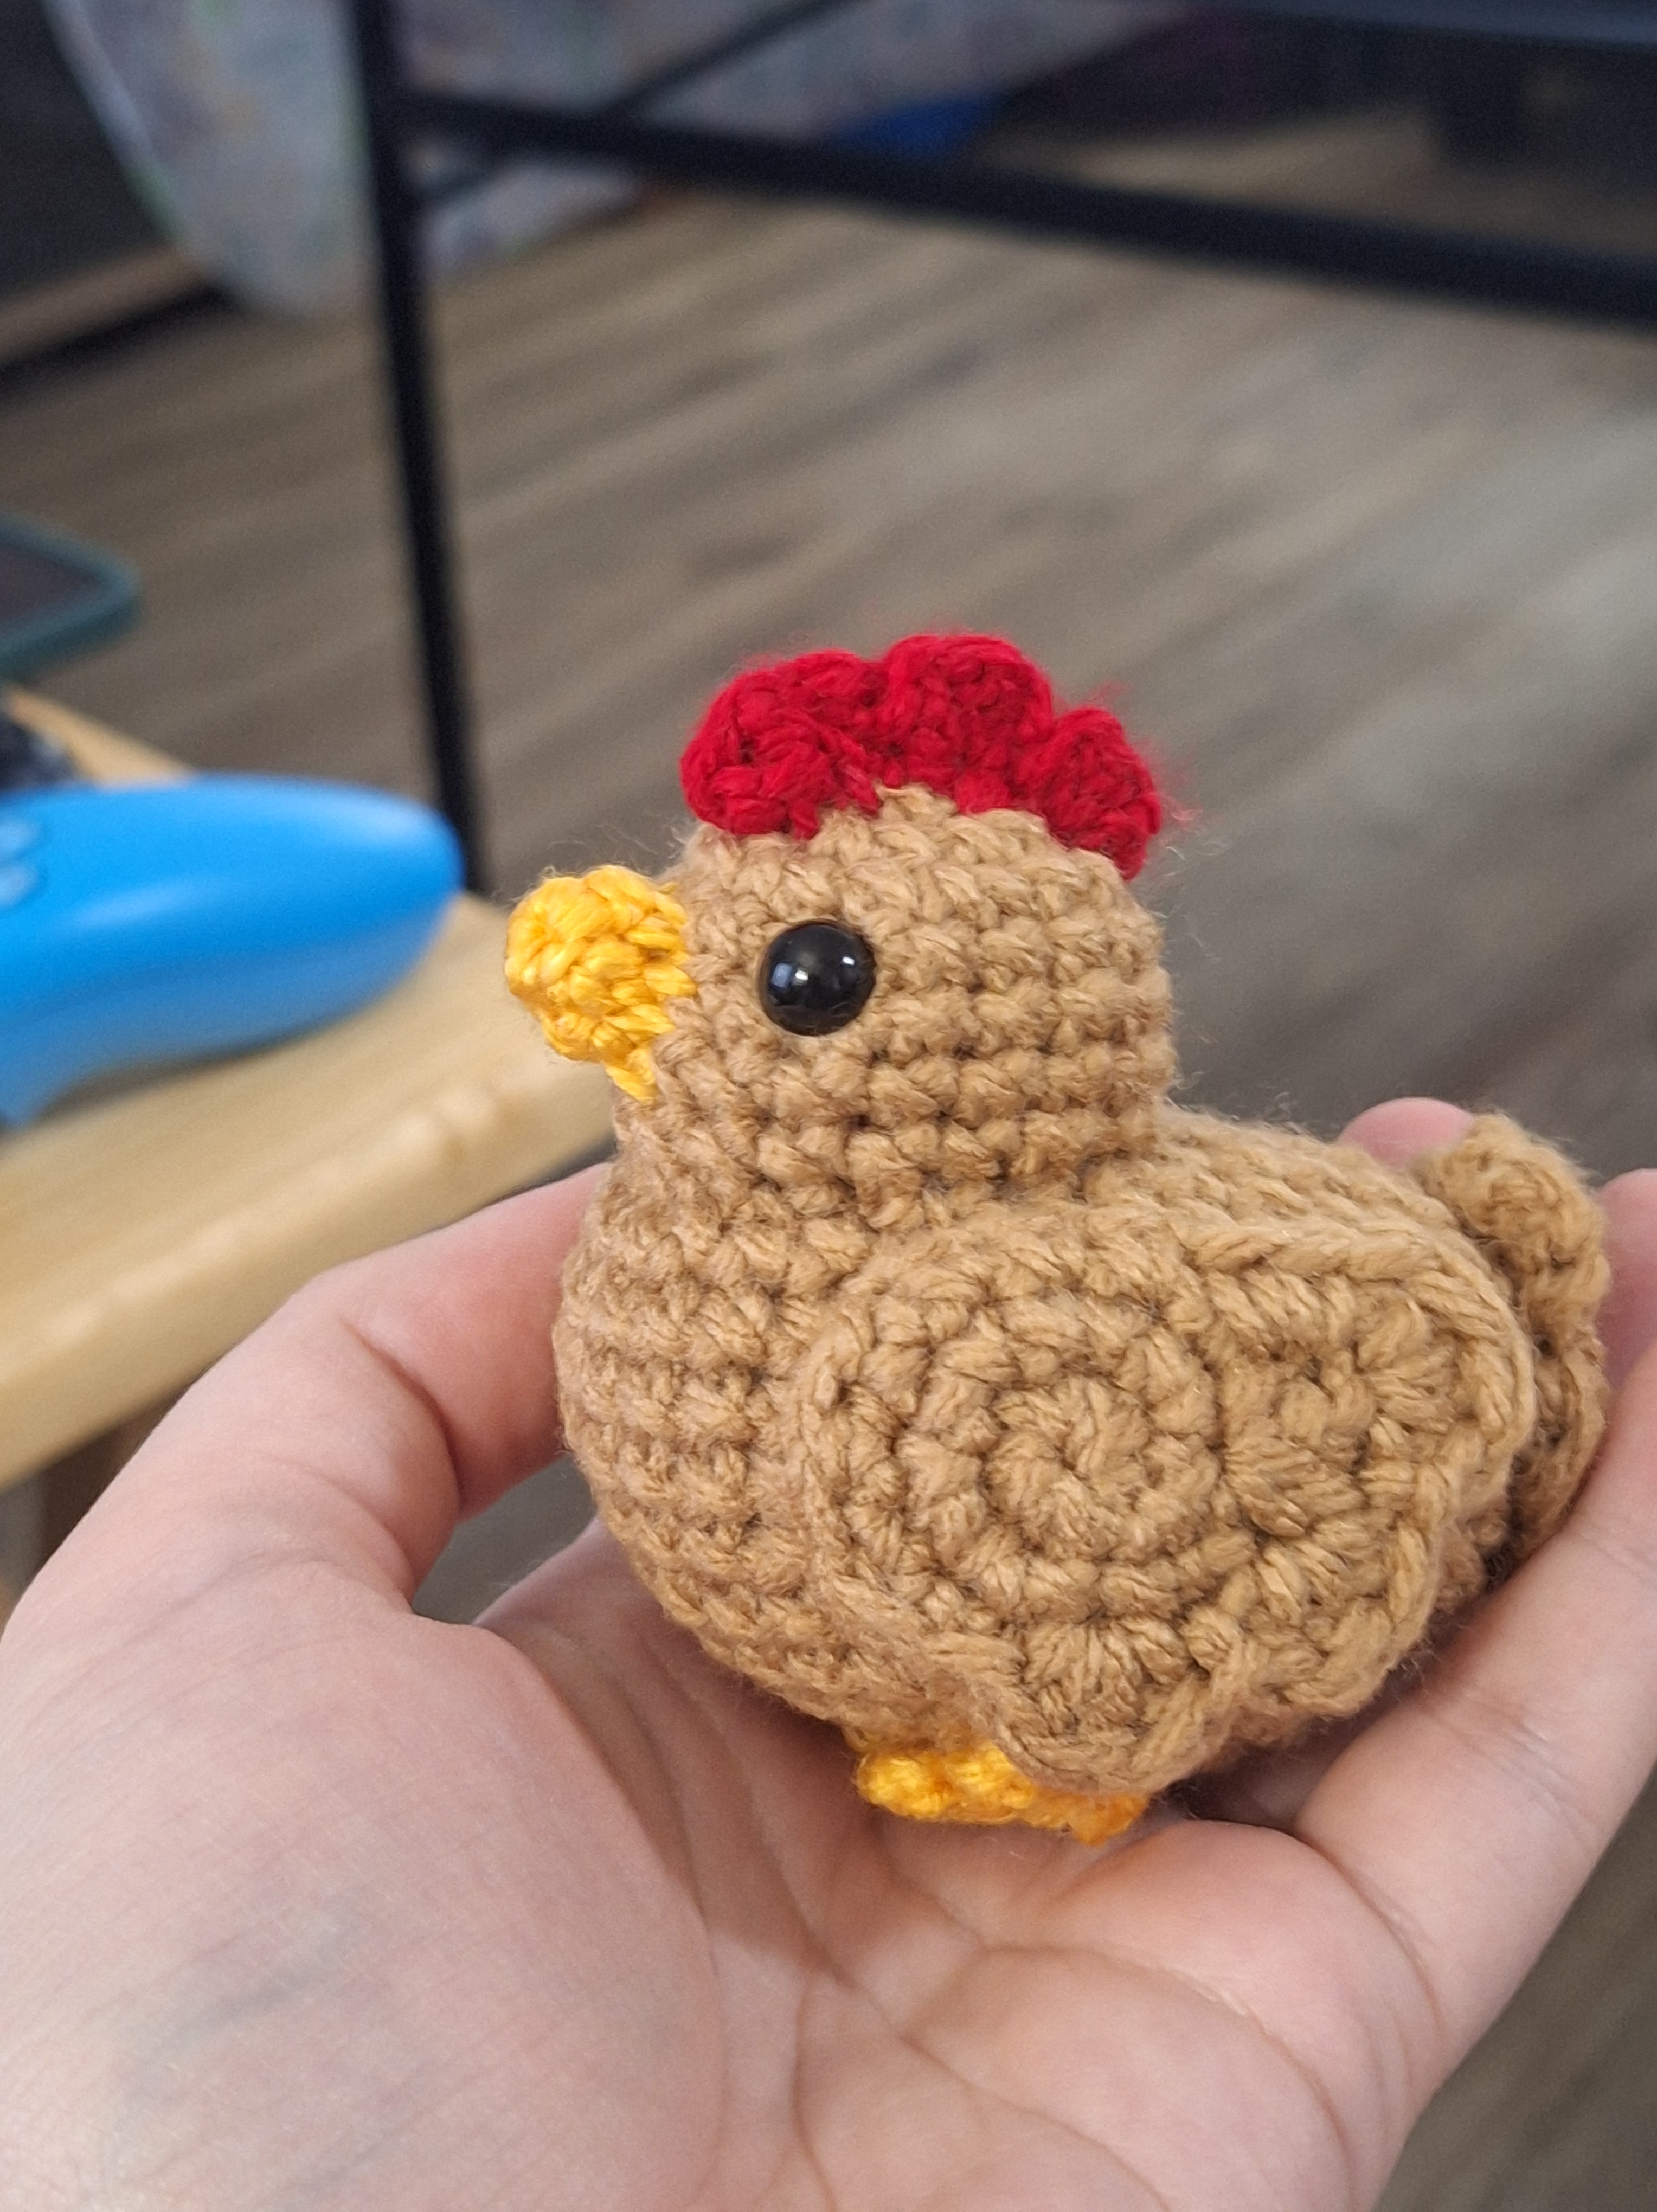
Wattle (3.0mm hook, red)
- (Ch 3, dc3tog in 3rd ch) 2x.
Fasten off. Sew onto head, under beak.


Leave a reply to Laura-Megan Siebold Cancel reply